Build Pictures
Here are some shots from building a Woodpecker Parlor and a concert guitar. Some steps are missing but at some point I'll try to add them.
I love to answer questions! Email me: nilsjohnson328@gmail.com
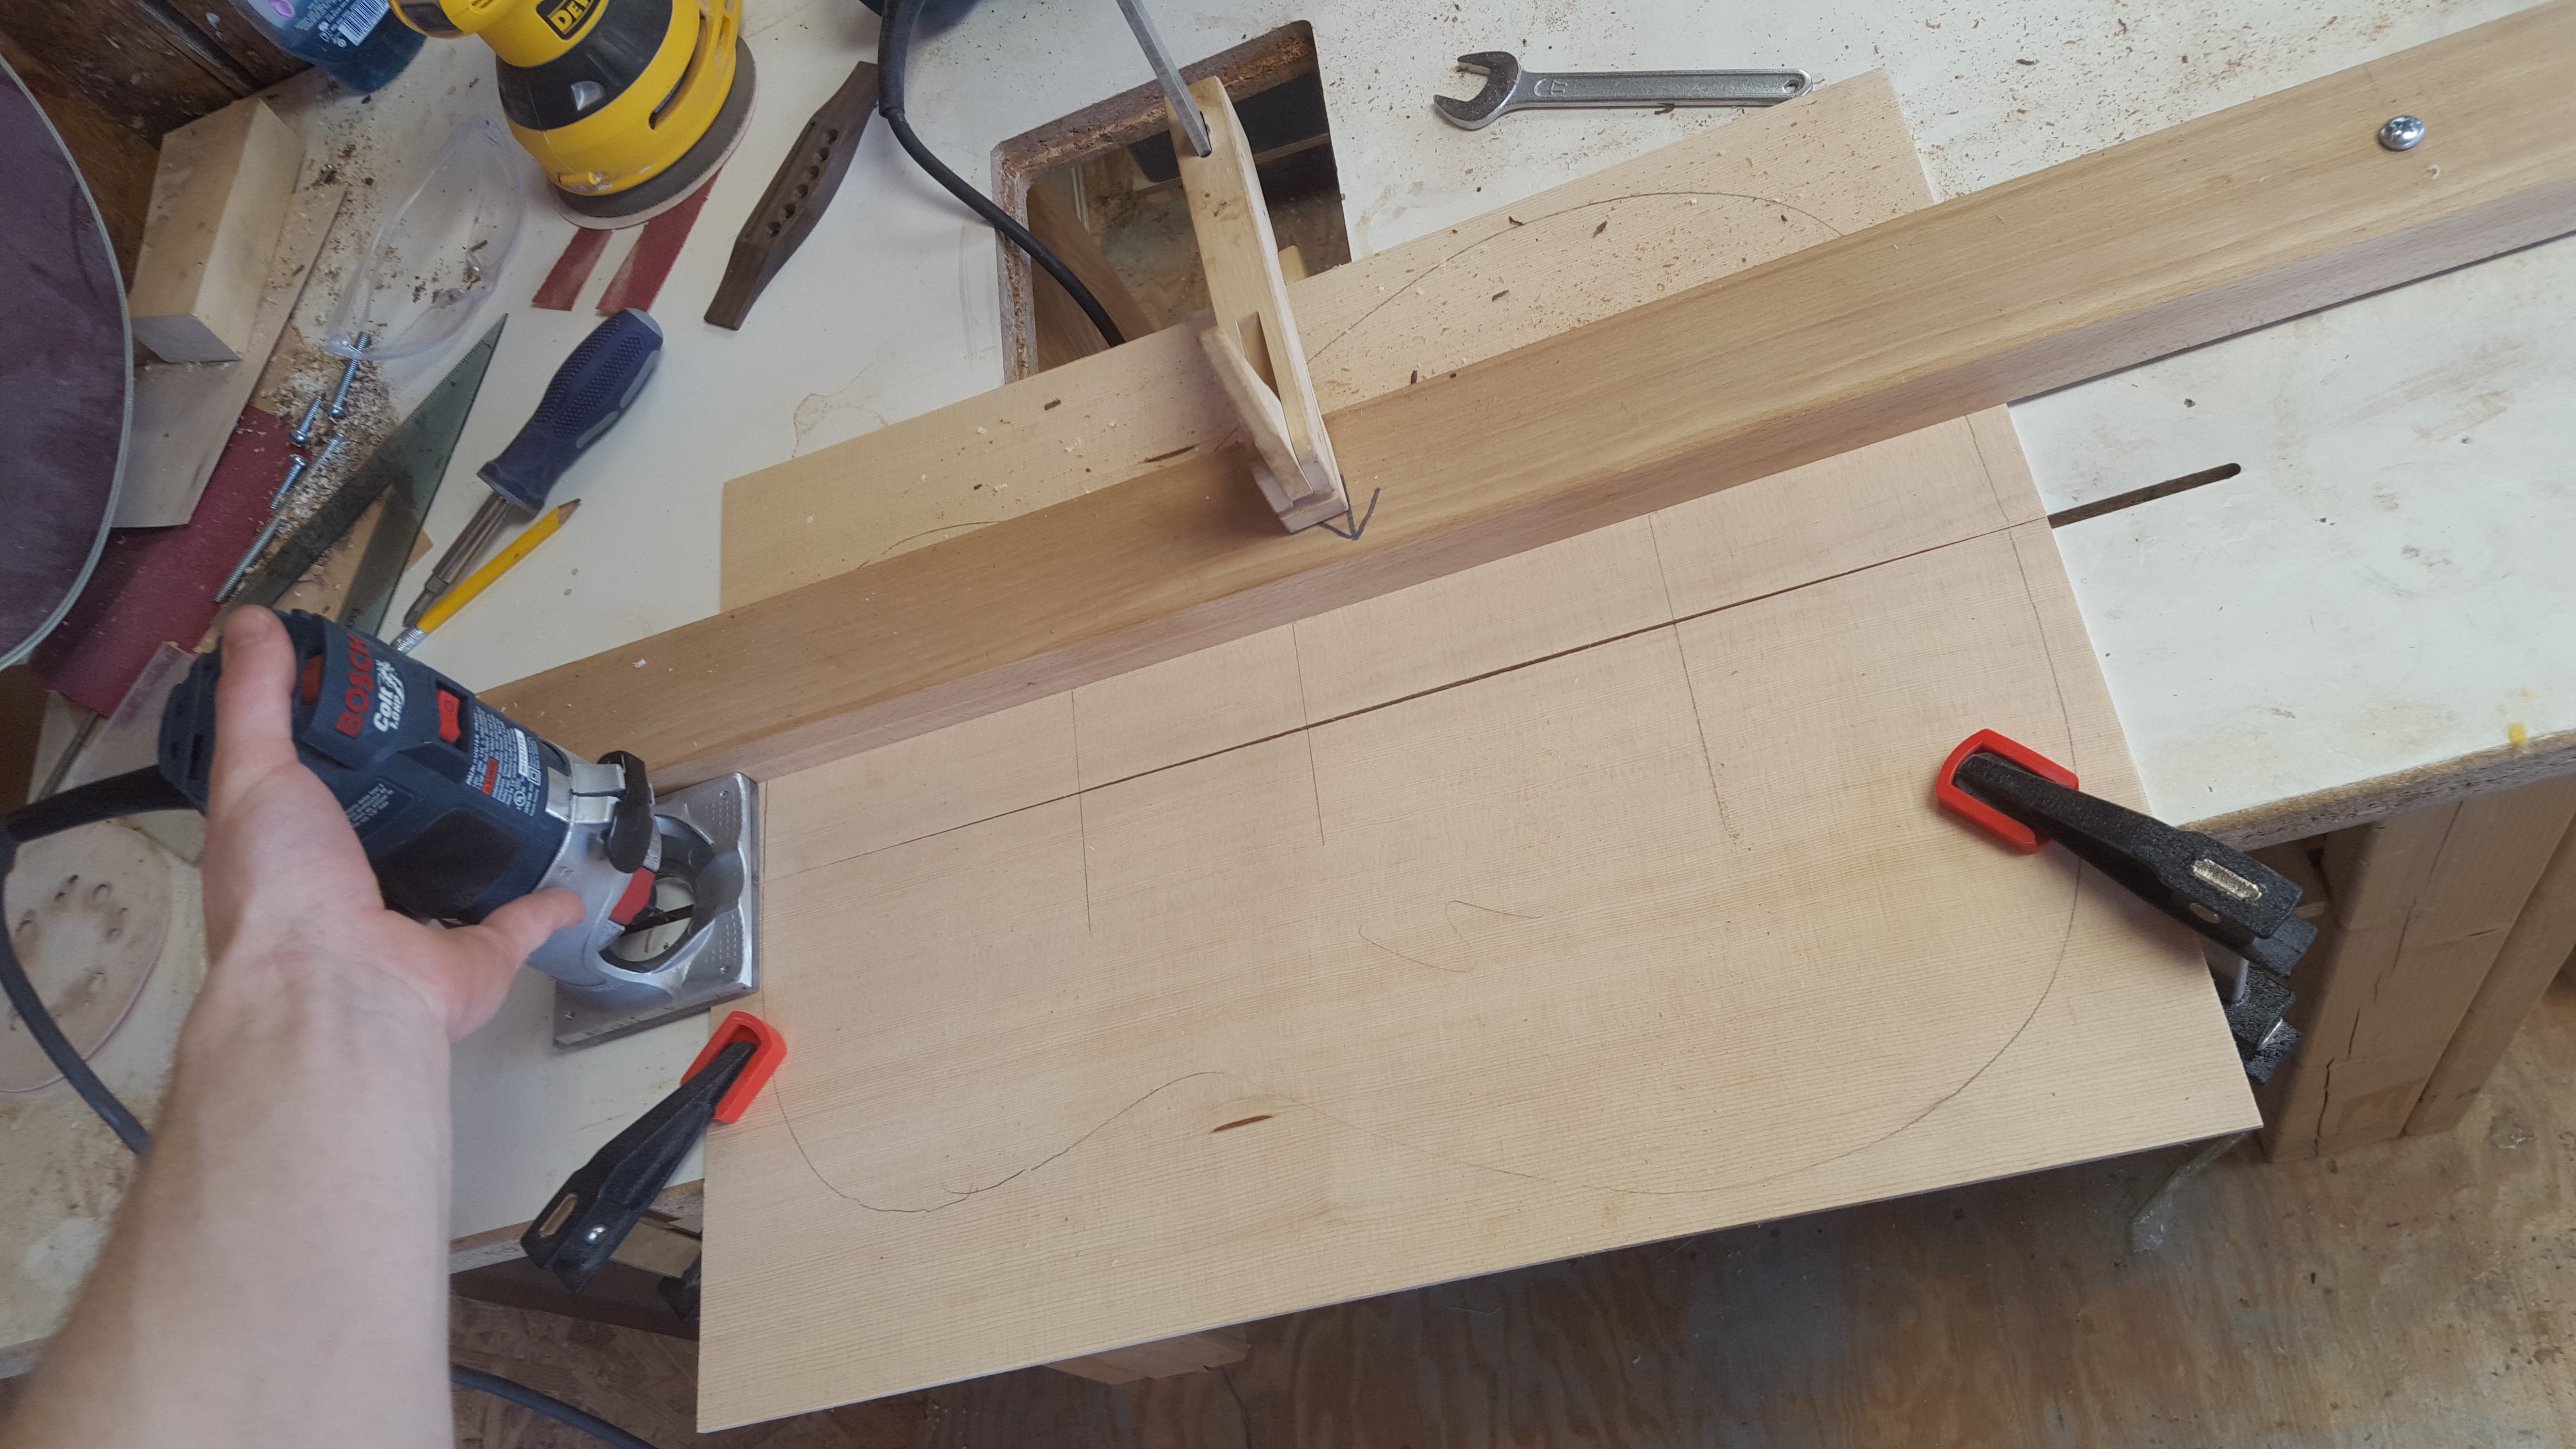
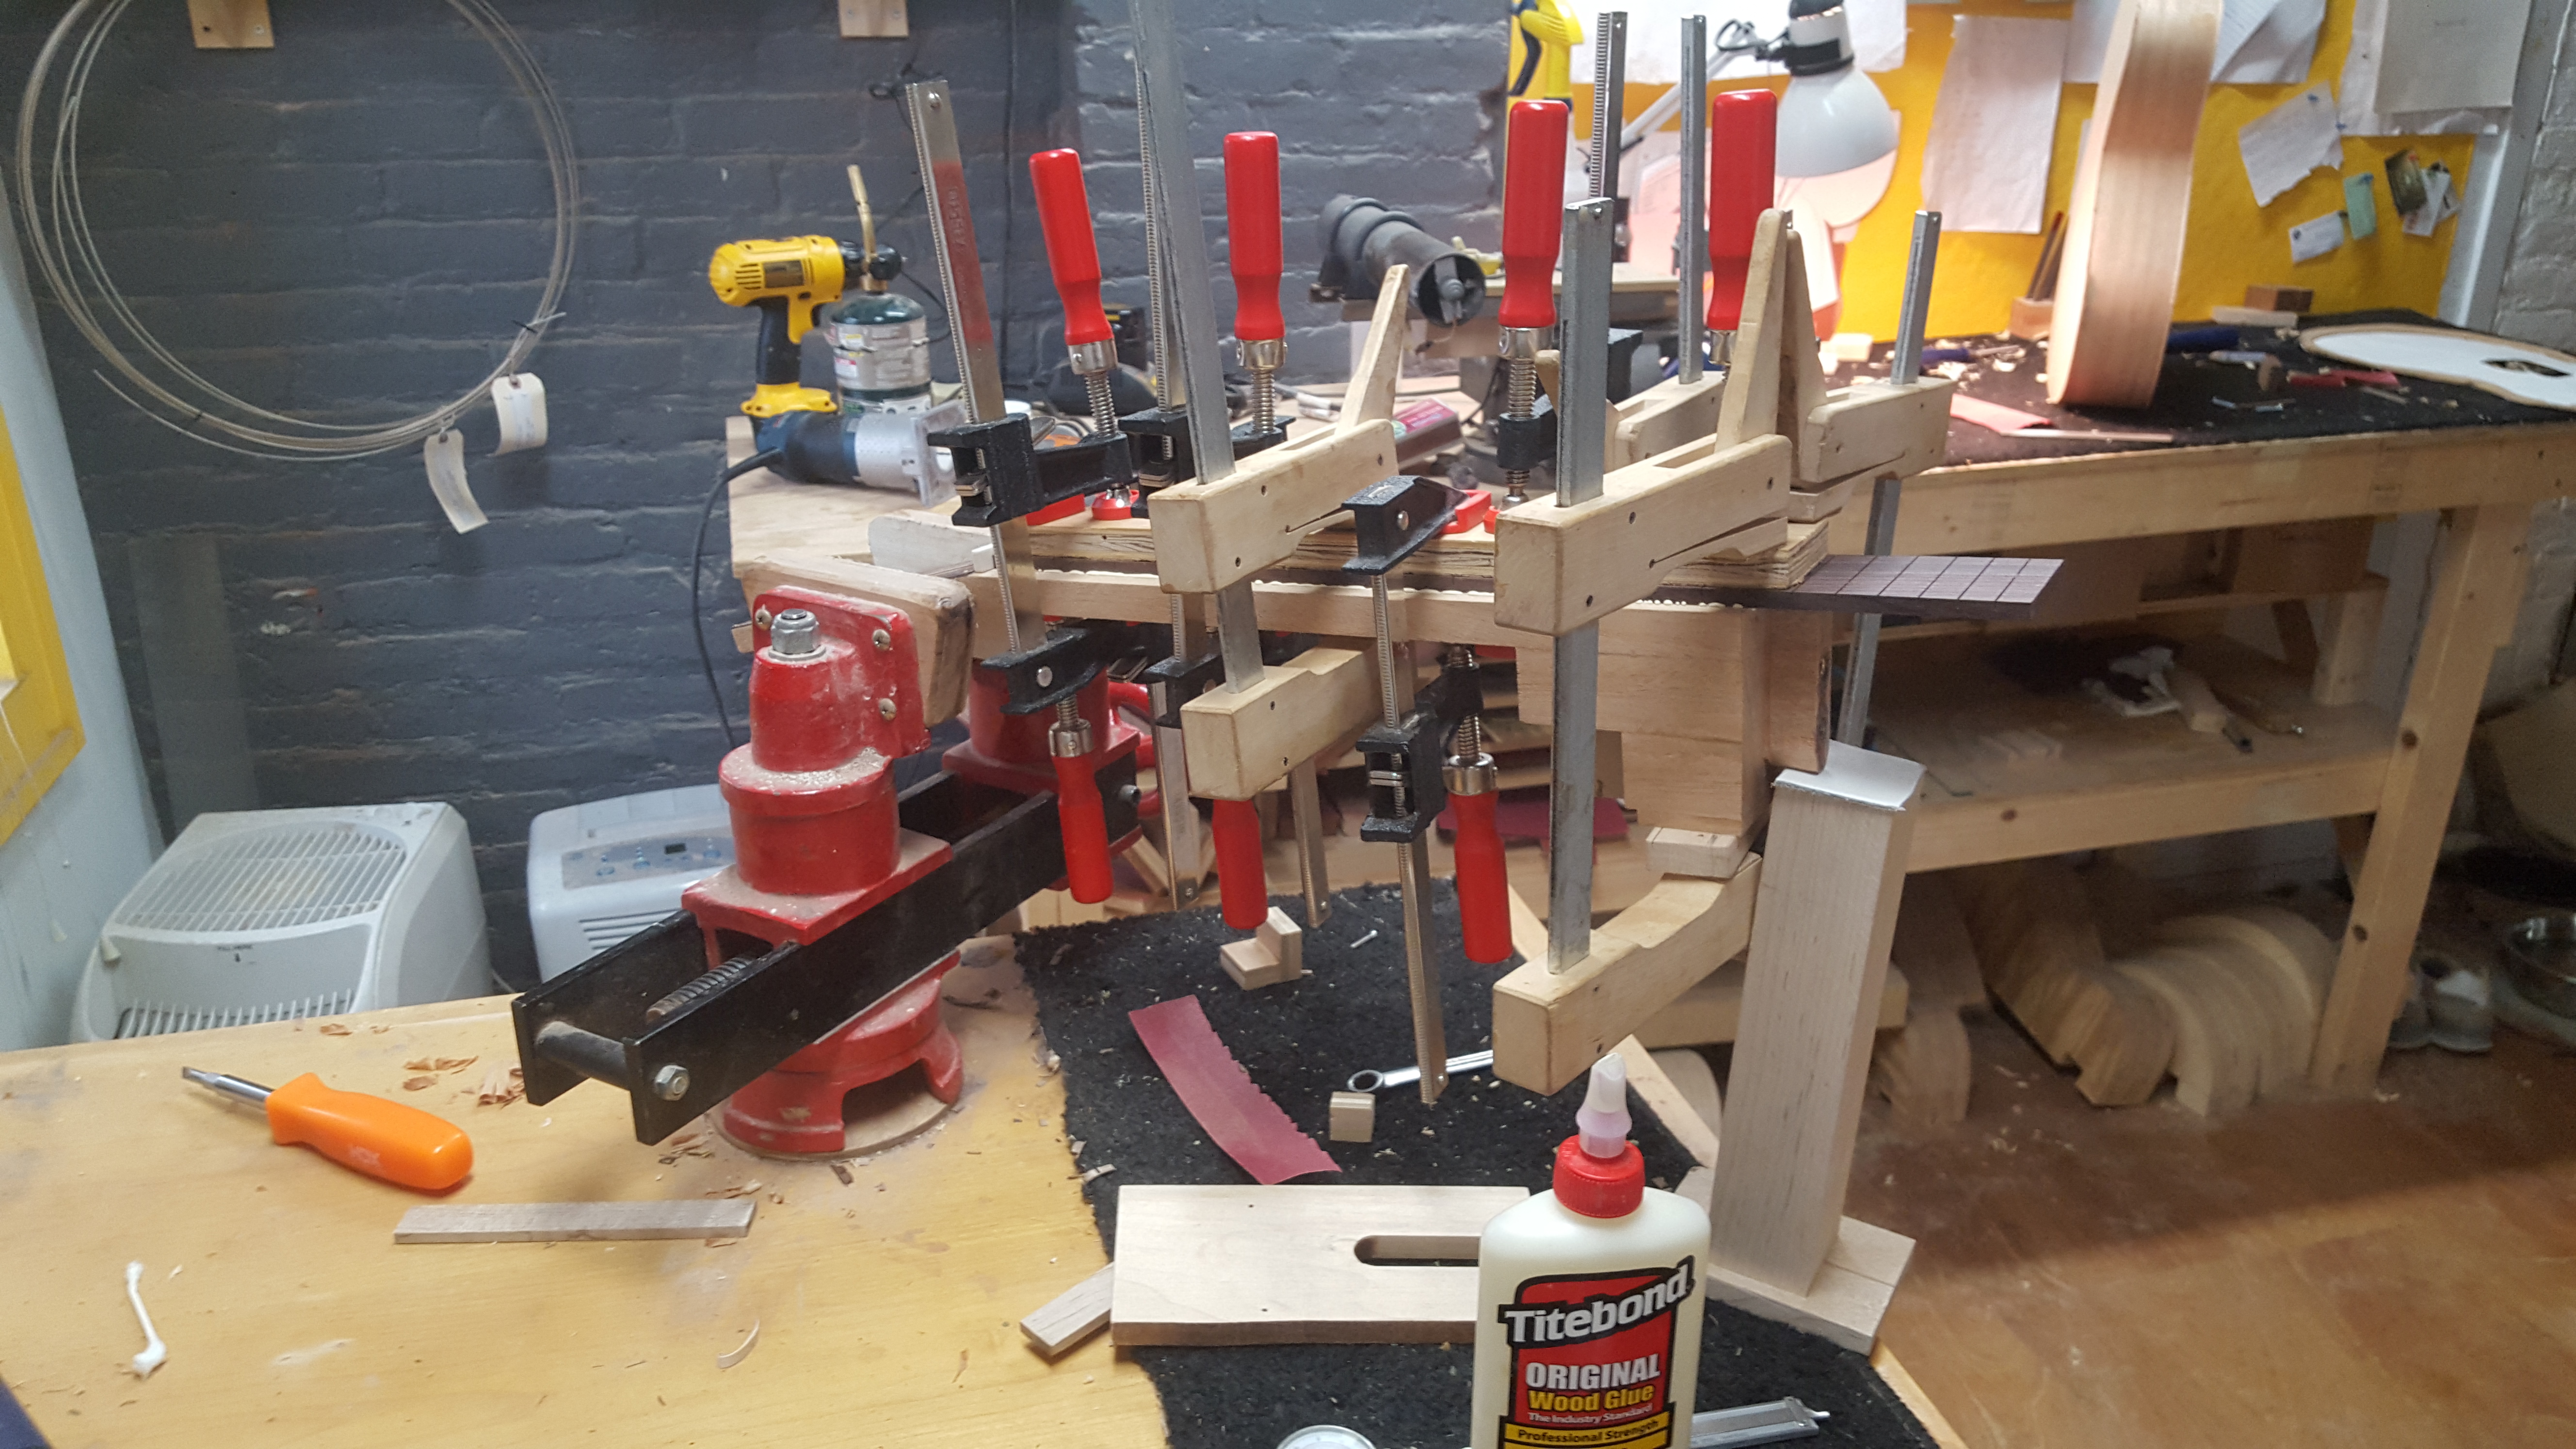
Joining the top with a router. By making a single cut down the center, these two pieces will match up perfectly.
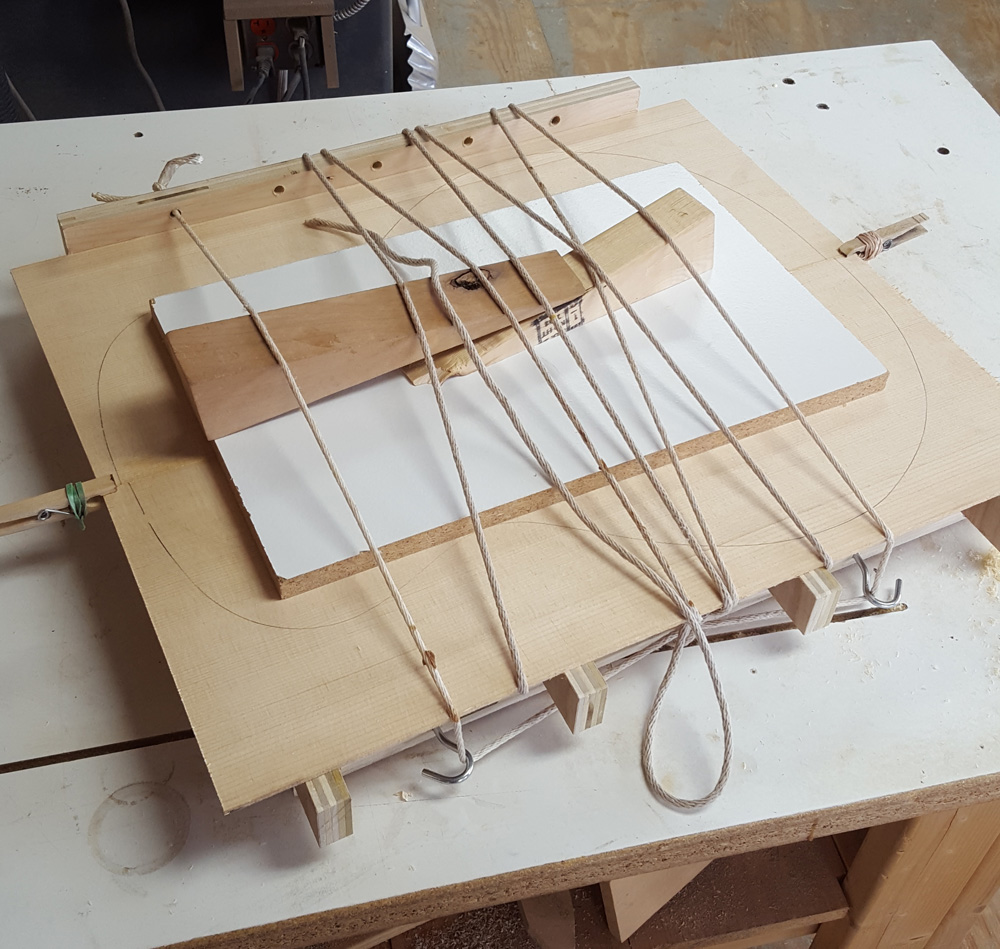
This jig provides the required pressure to squeeze out the glue and properly align the two pieces.
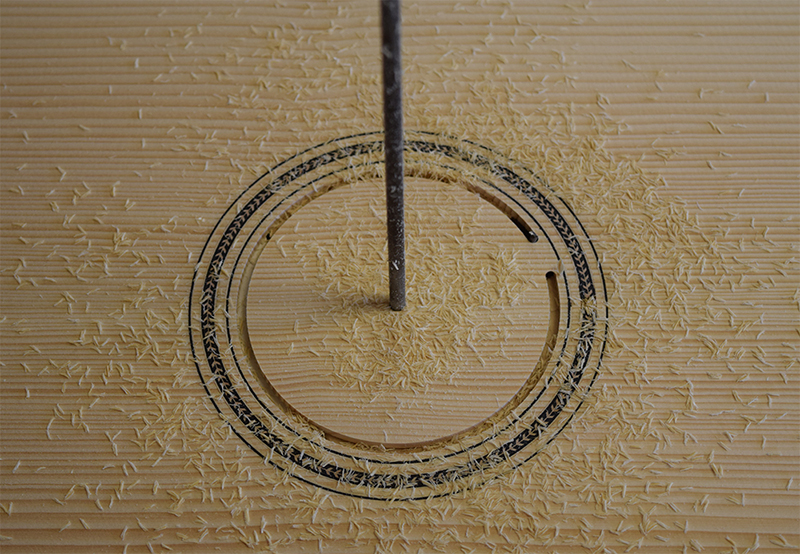
Cutting the soundhole. This is done on the routing table by rotating the piece around a pivot point. The channels for the rosette are done a similar way.
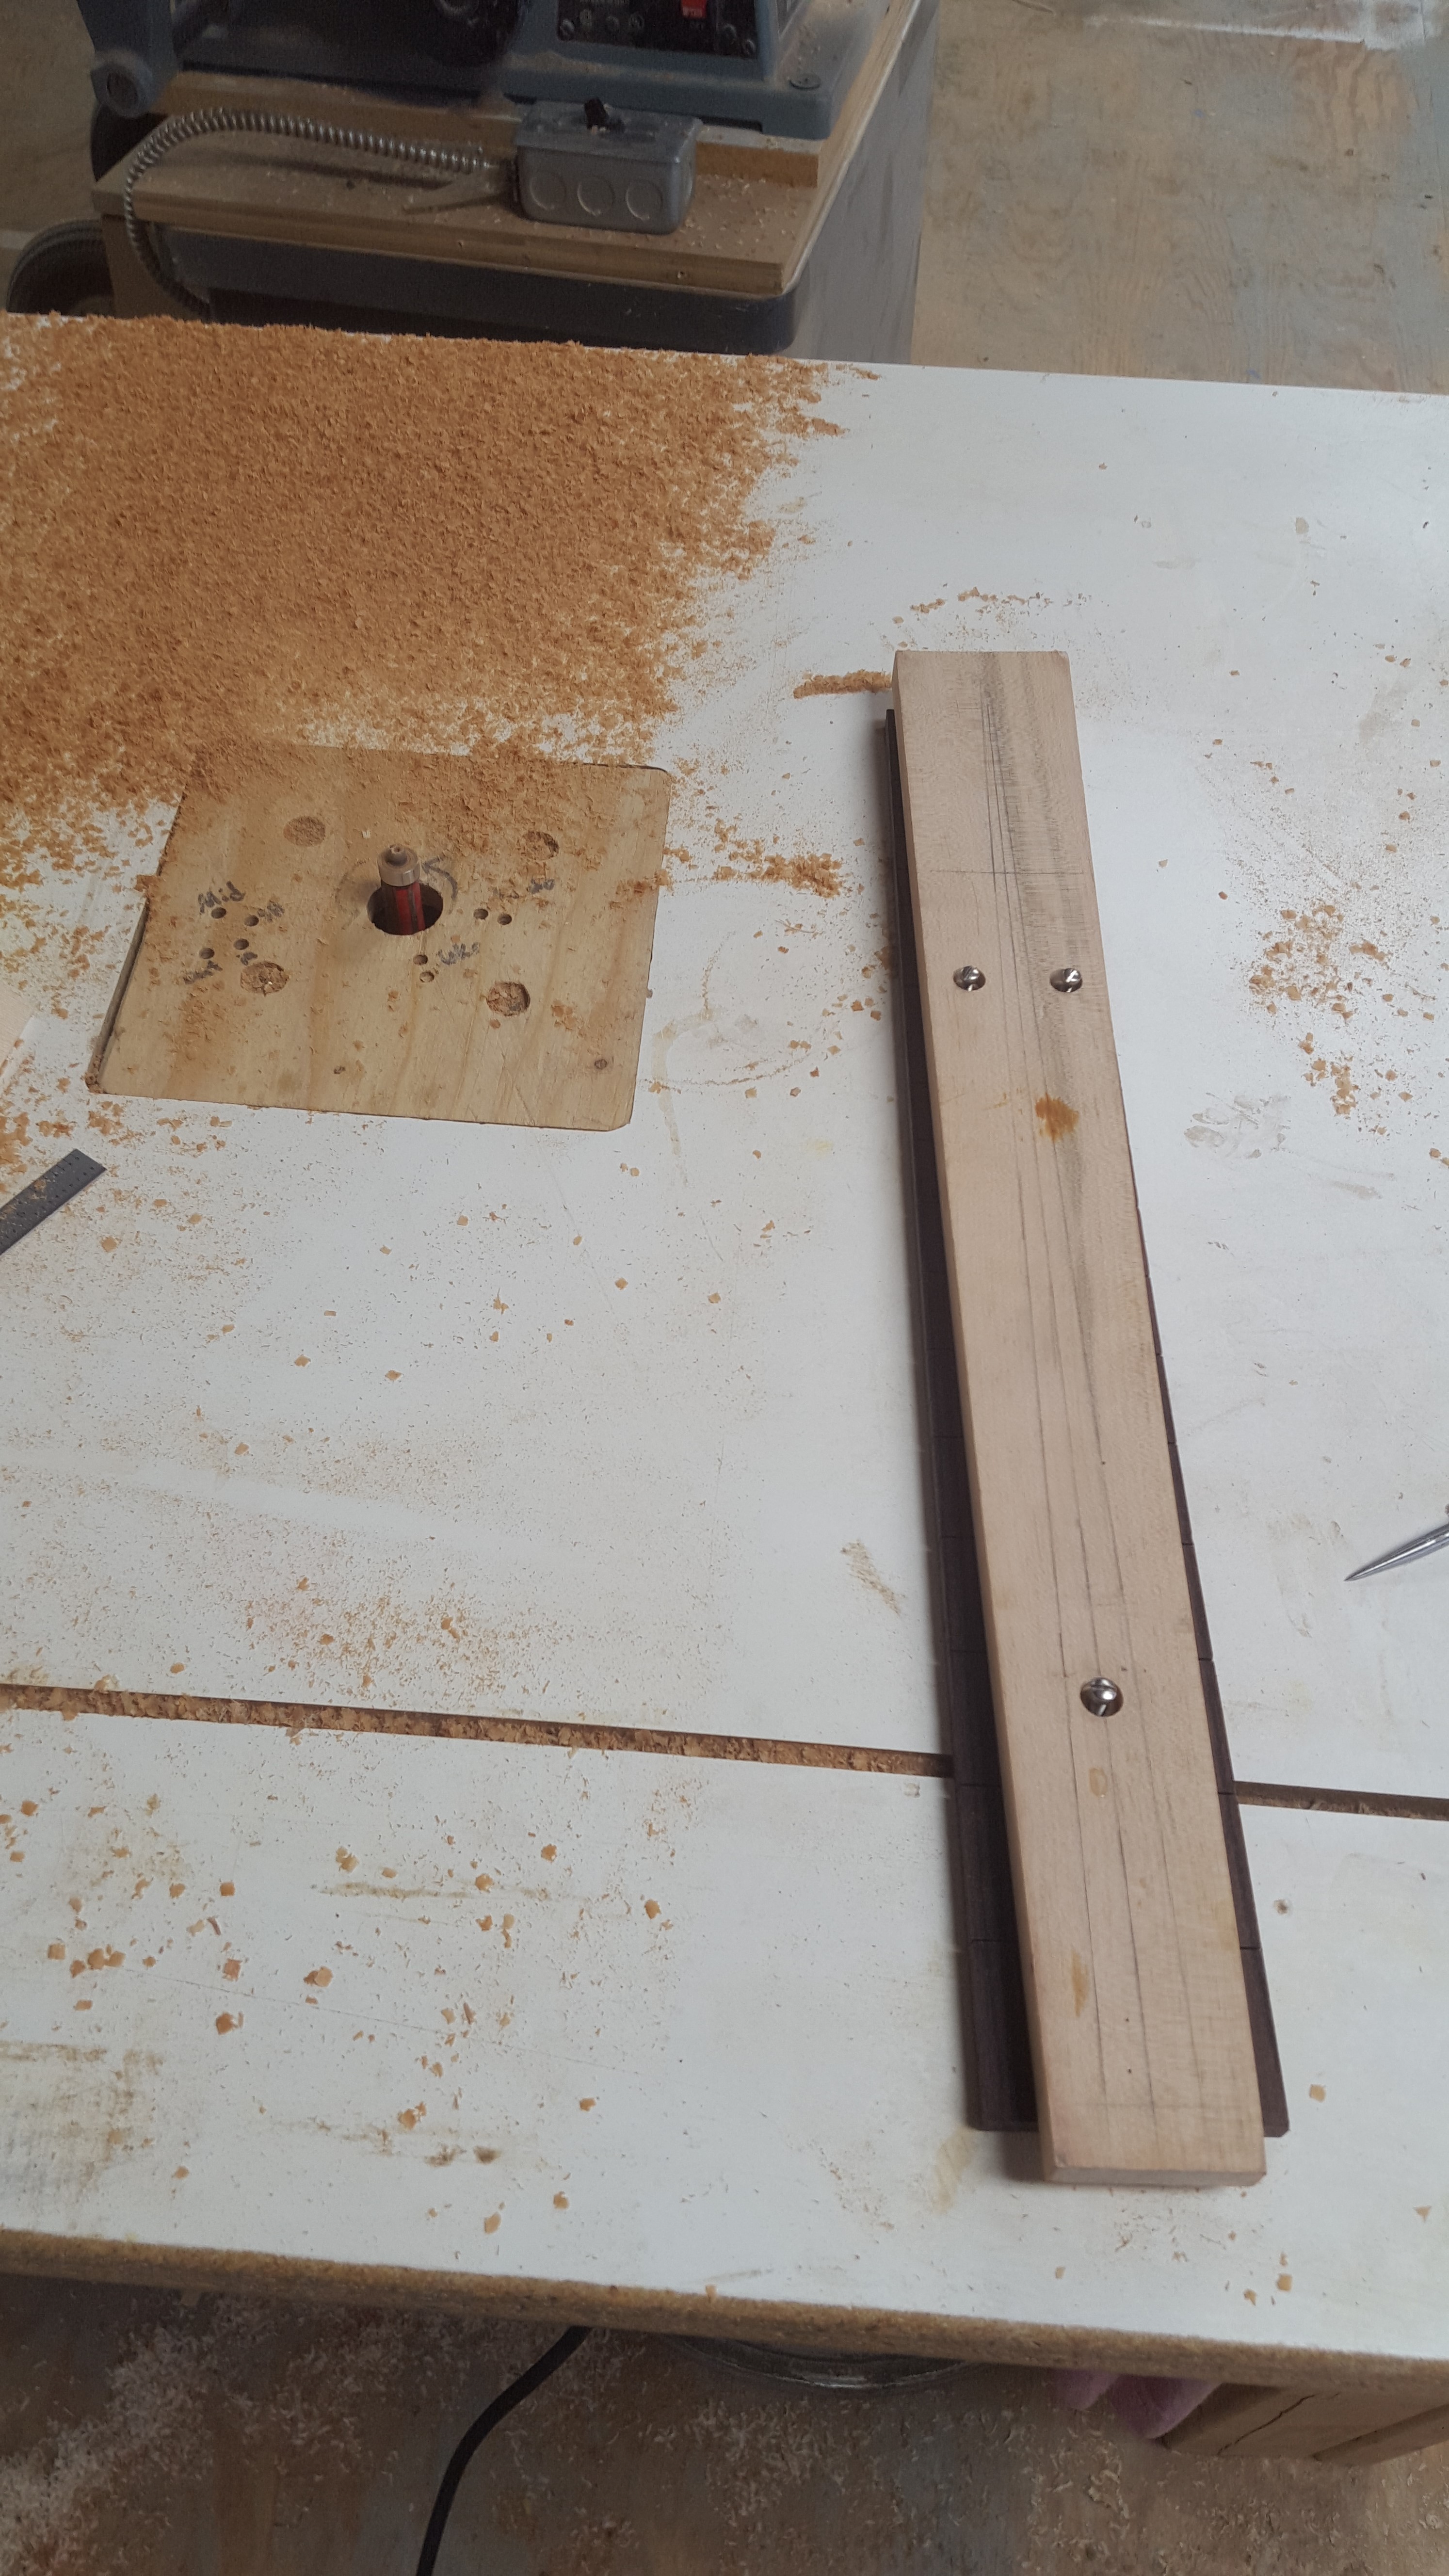
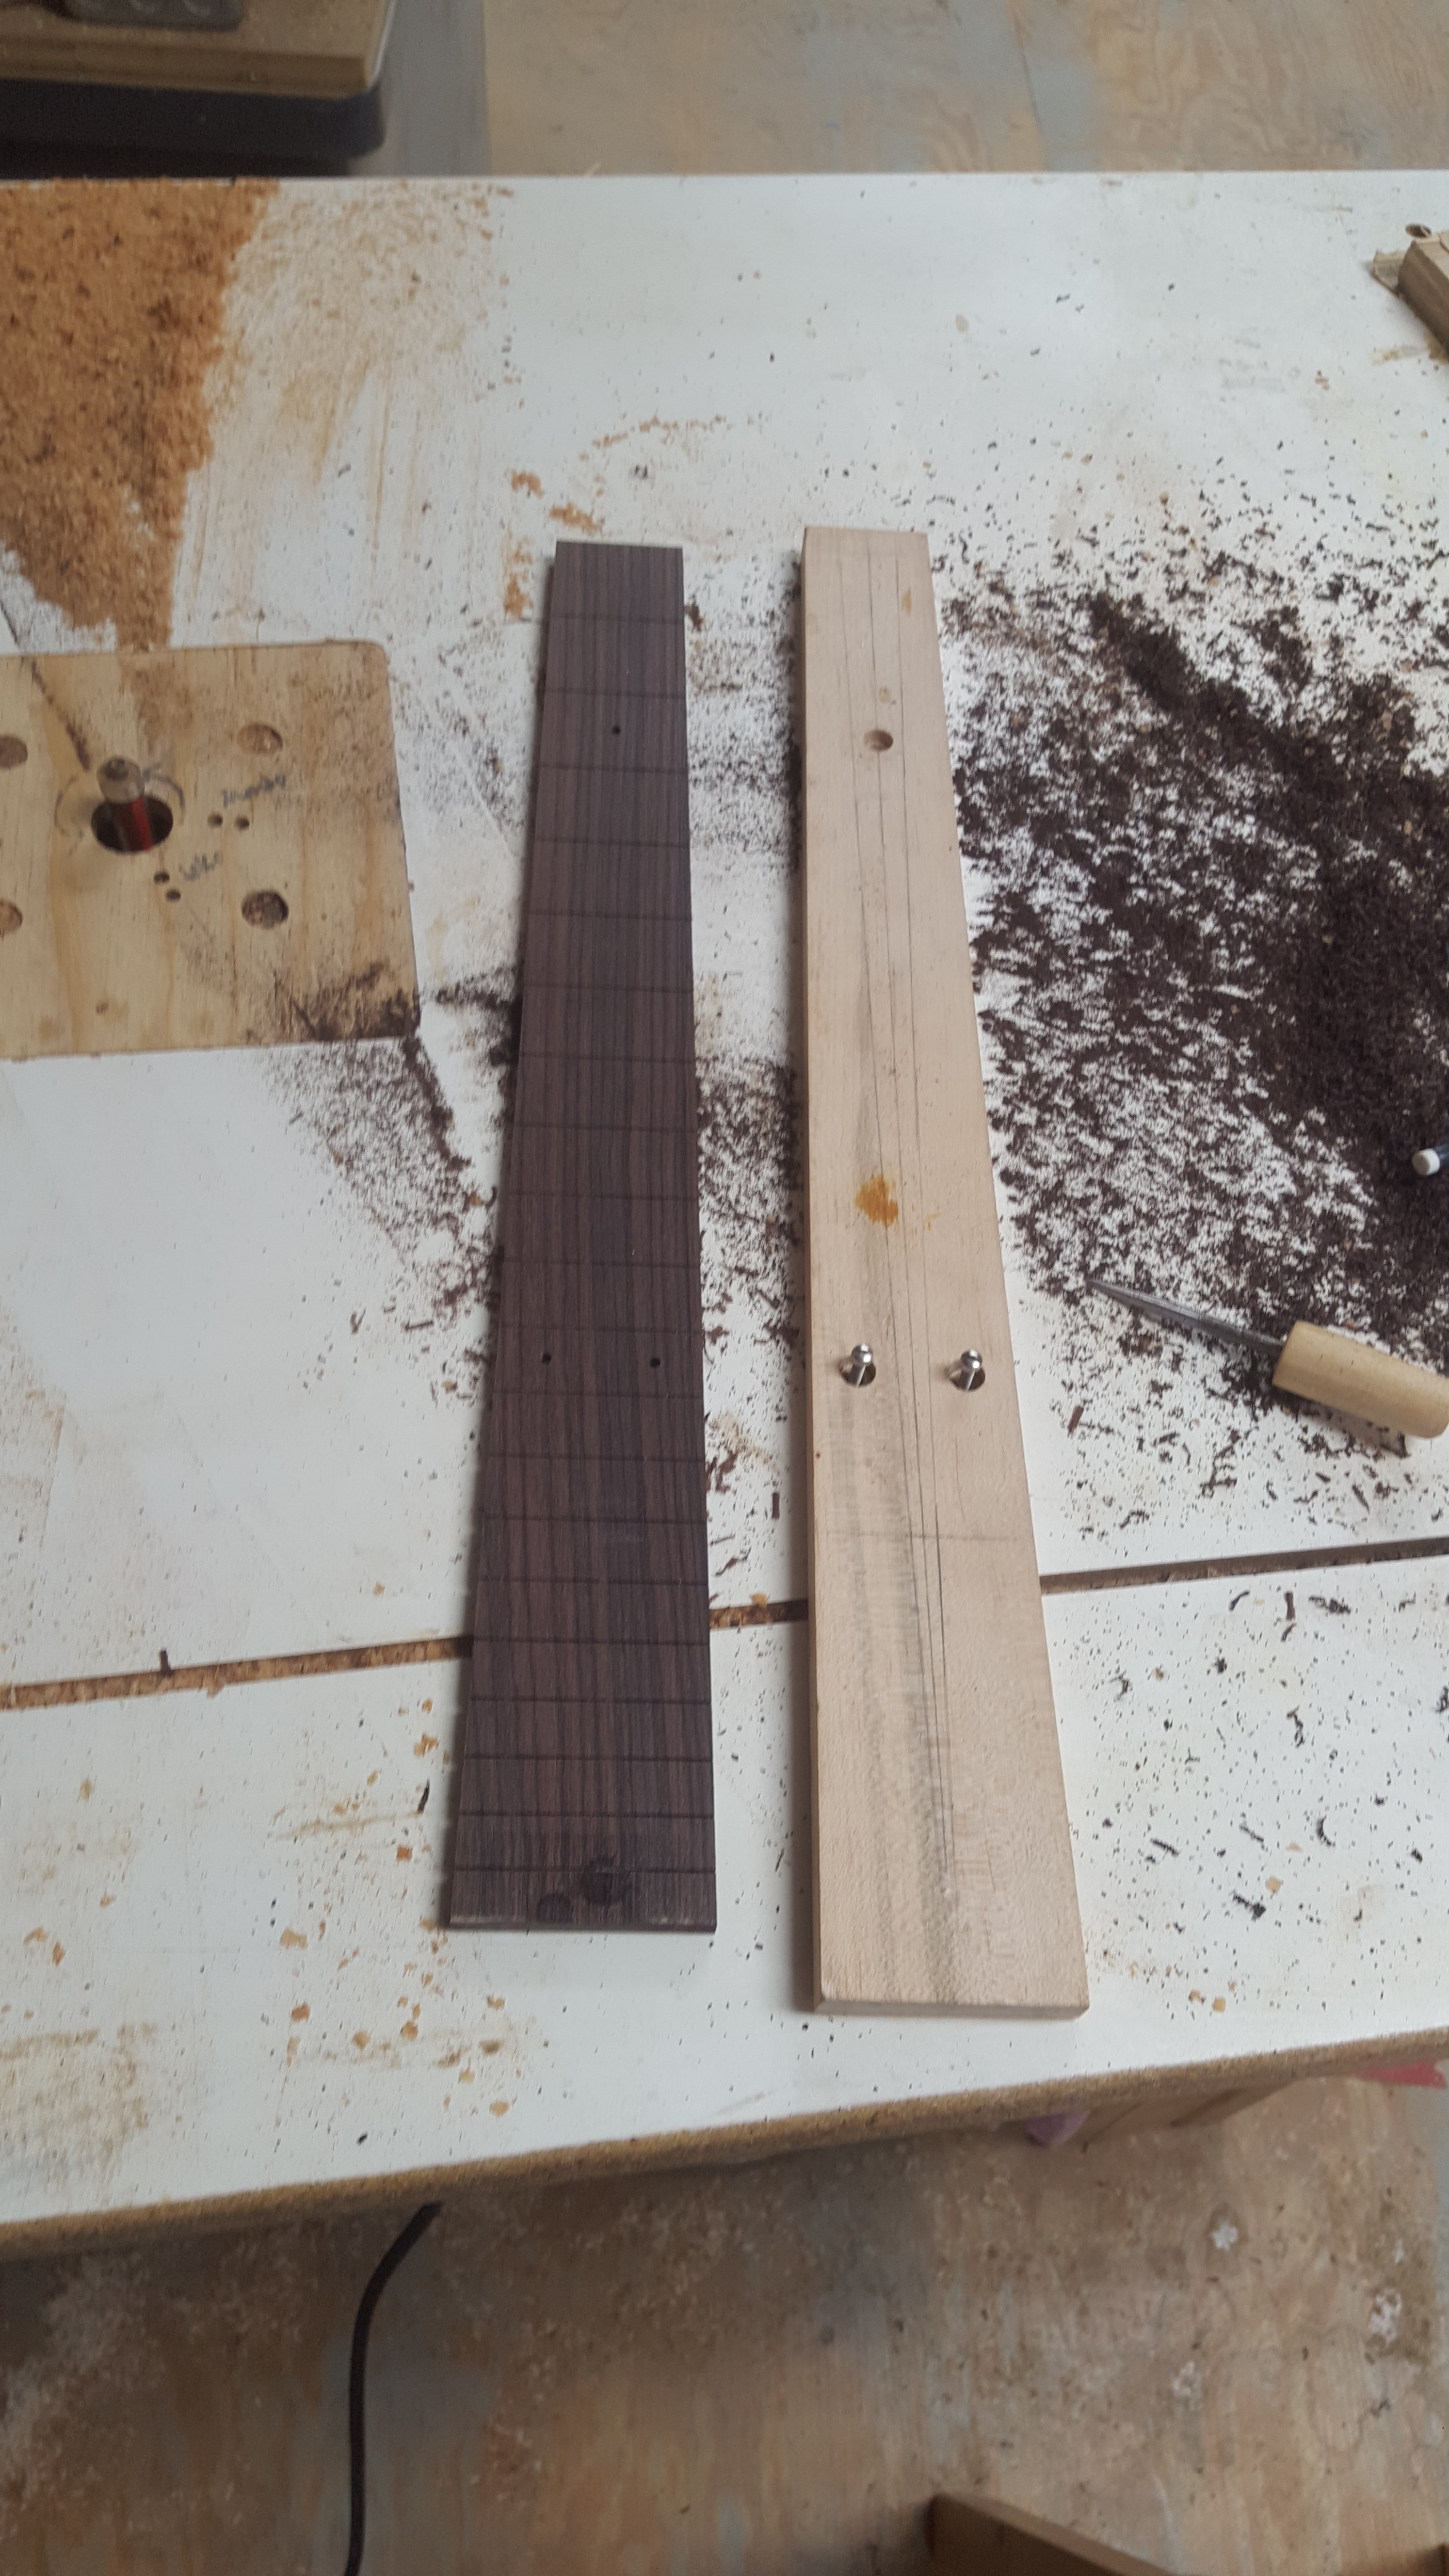
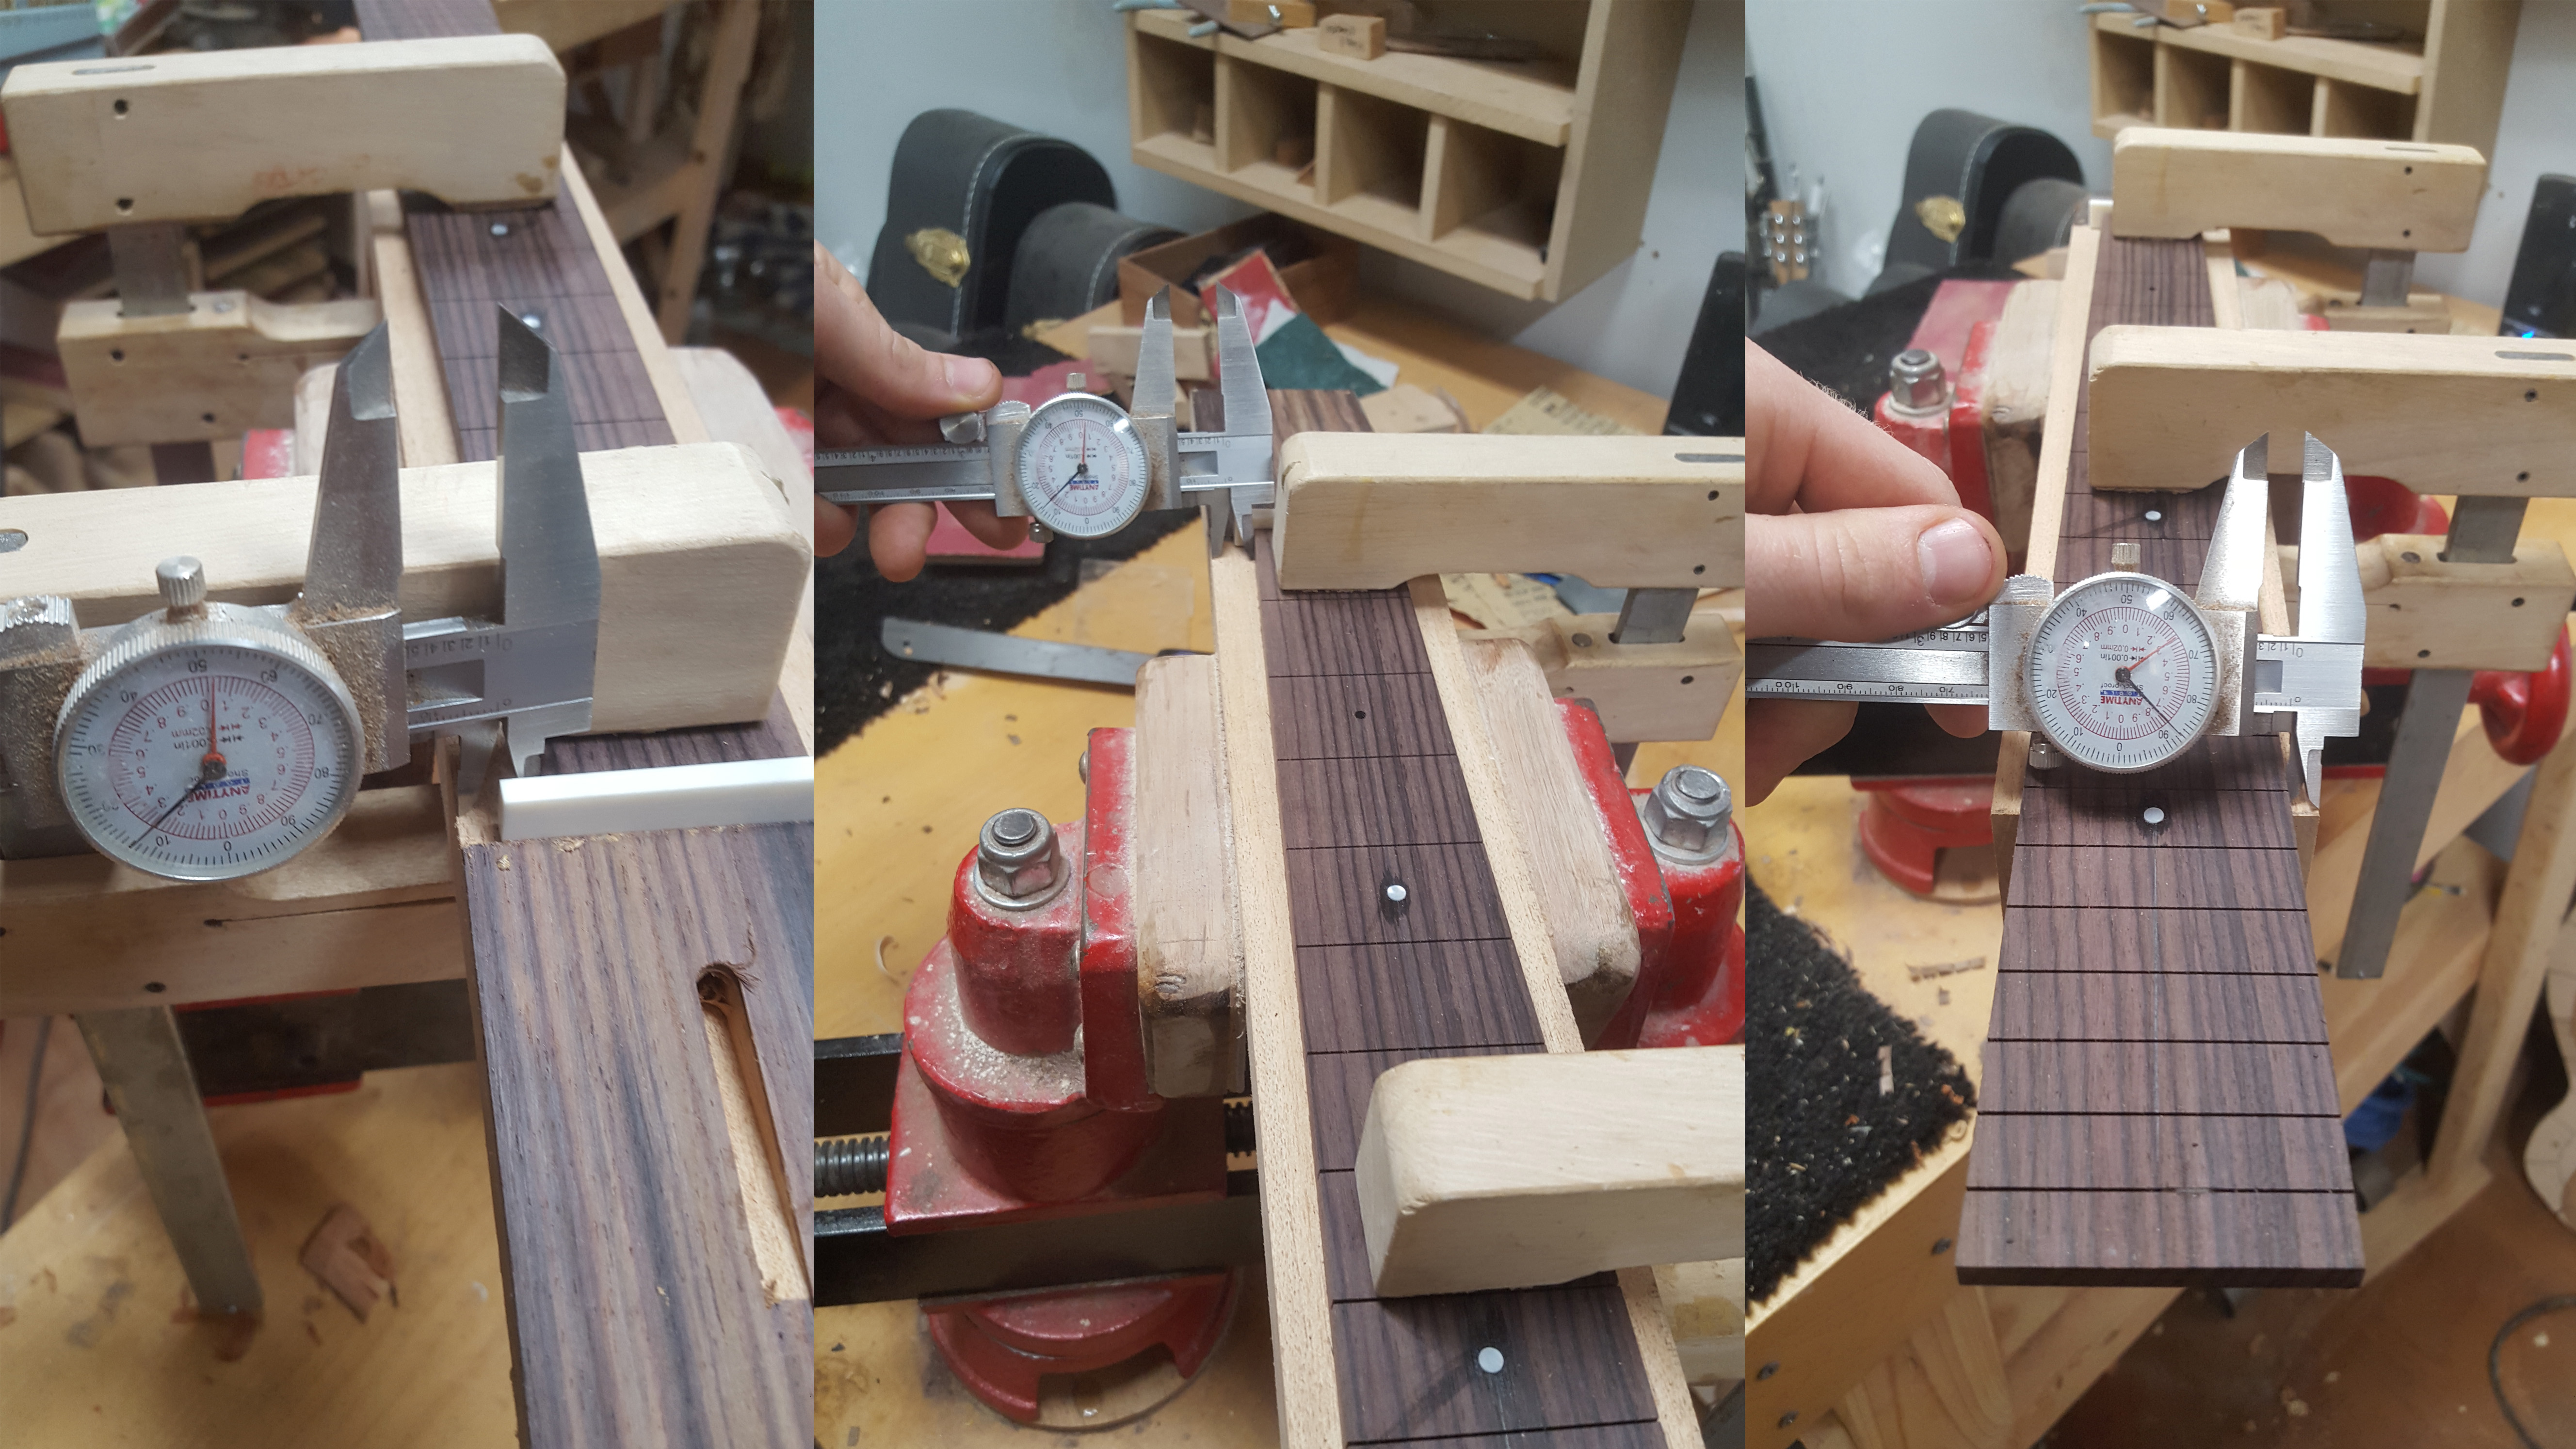
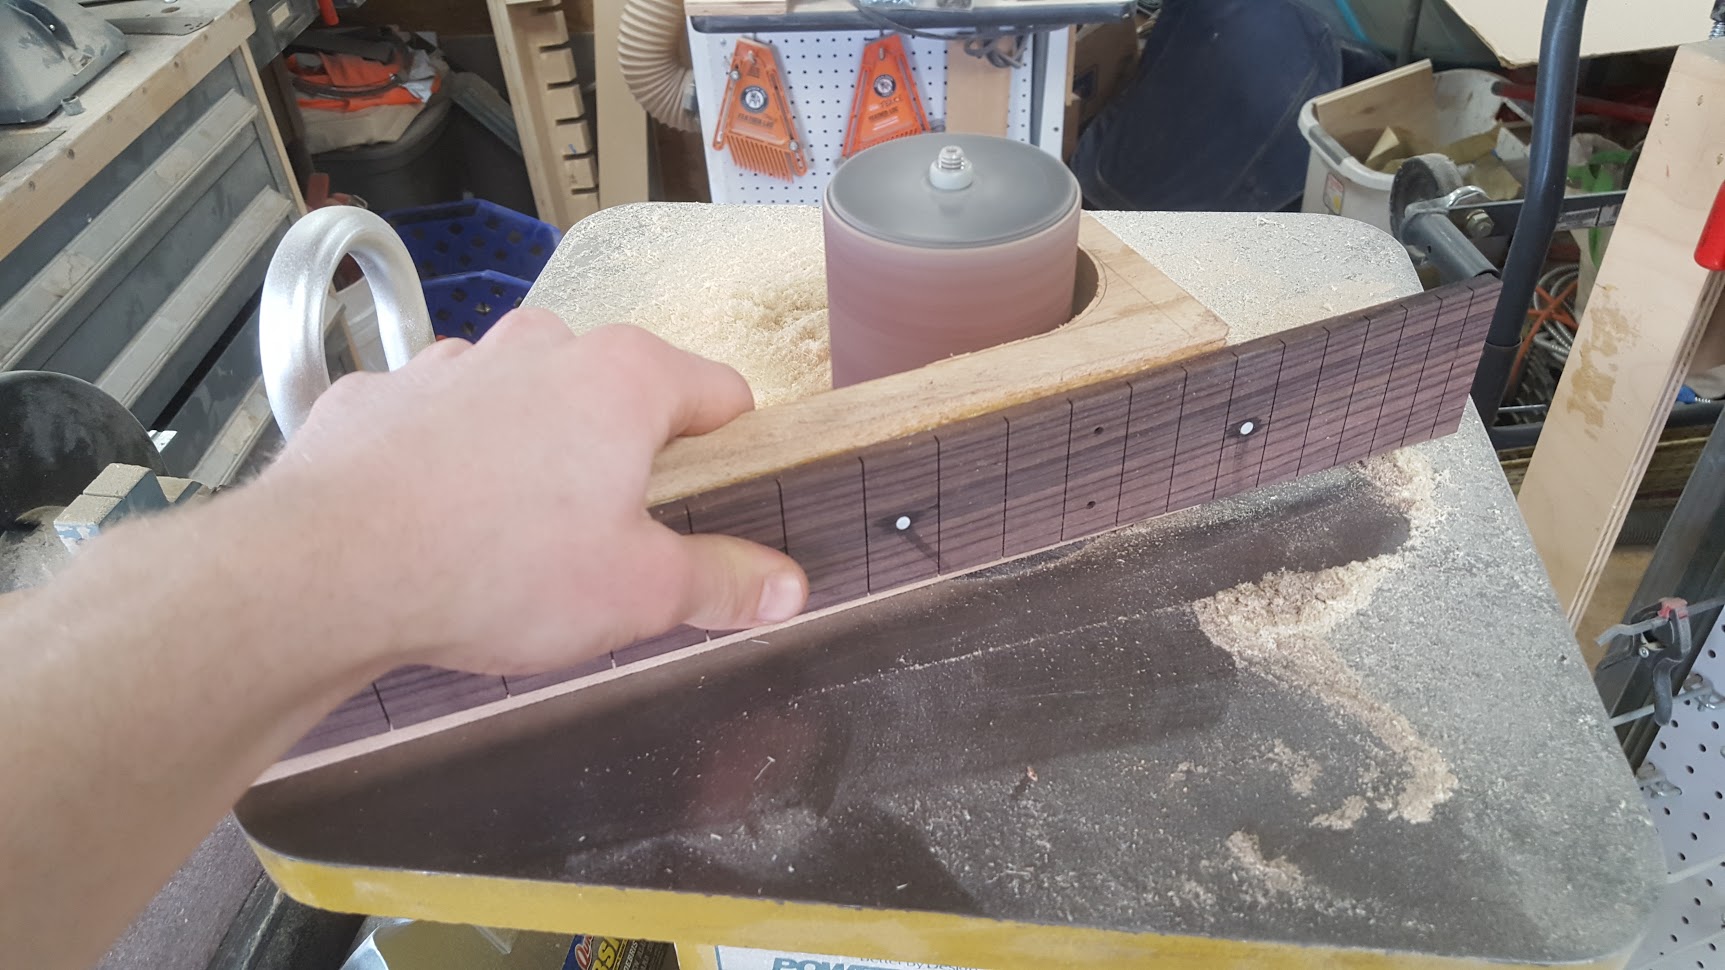
Cutting the fingerboard to size using a template and a flush cut router bit.
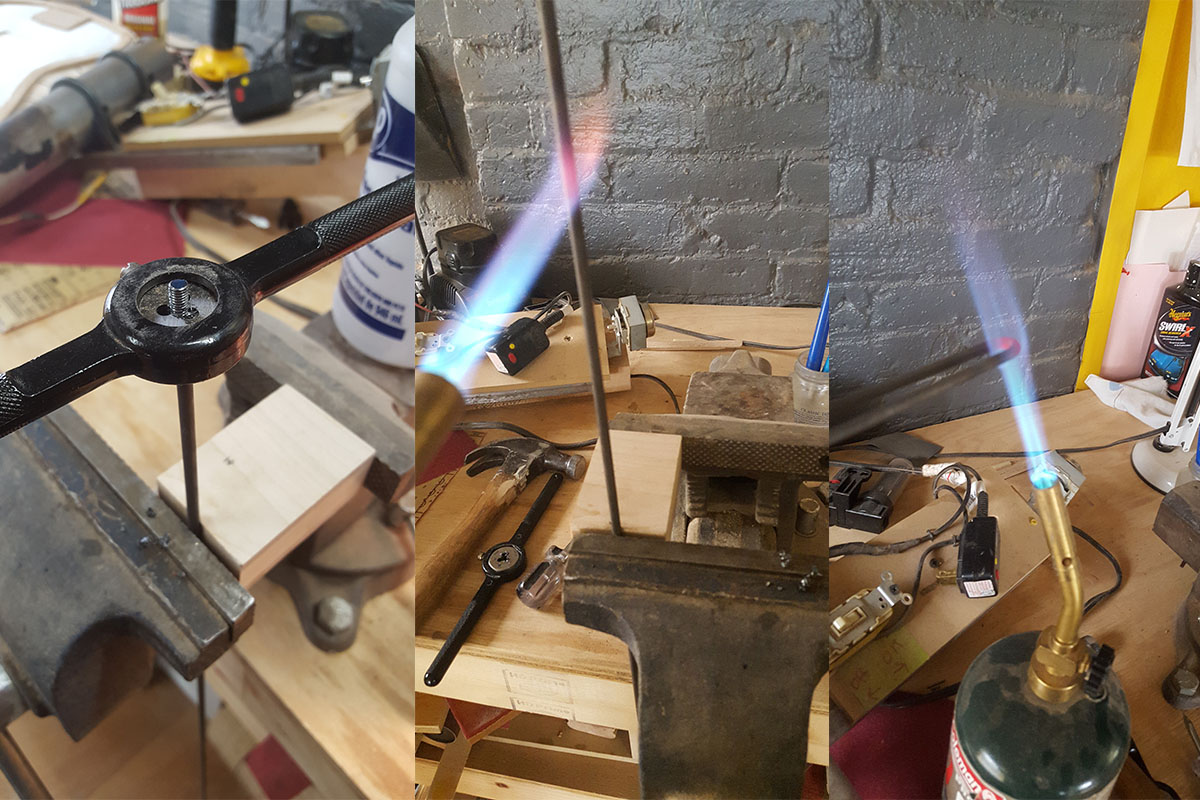
Threading the neck rod, then heating to bend it.
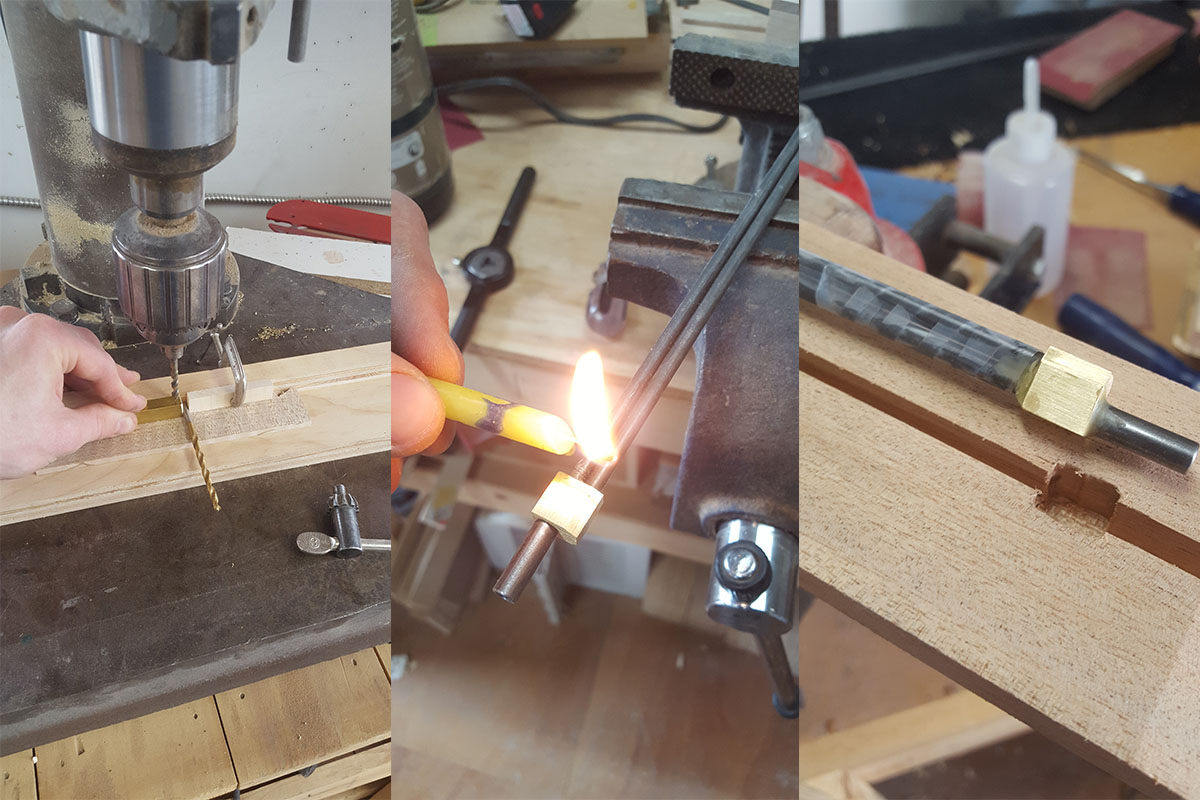
Making the block and waxing it. The drill bit sitting next to the block is to get the spacing for the holes right. The wax prevents epoxy from getting in the threads.
The rod will be installed in this channel. Epoxy will hold the block tightly in place ensuring smooth operation.
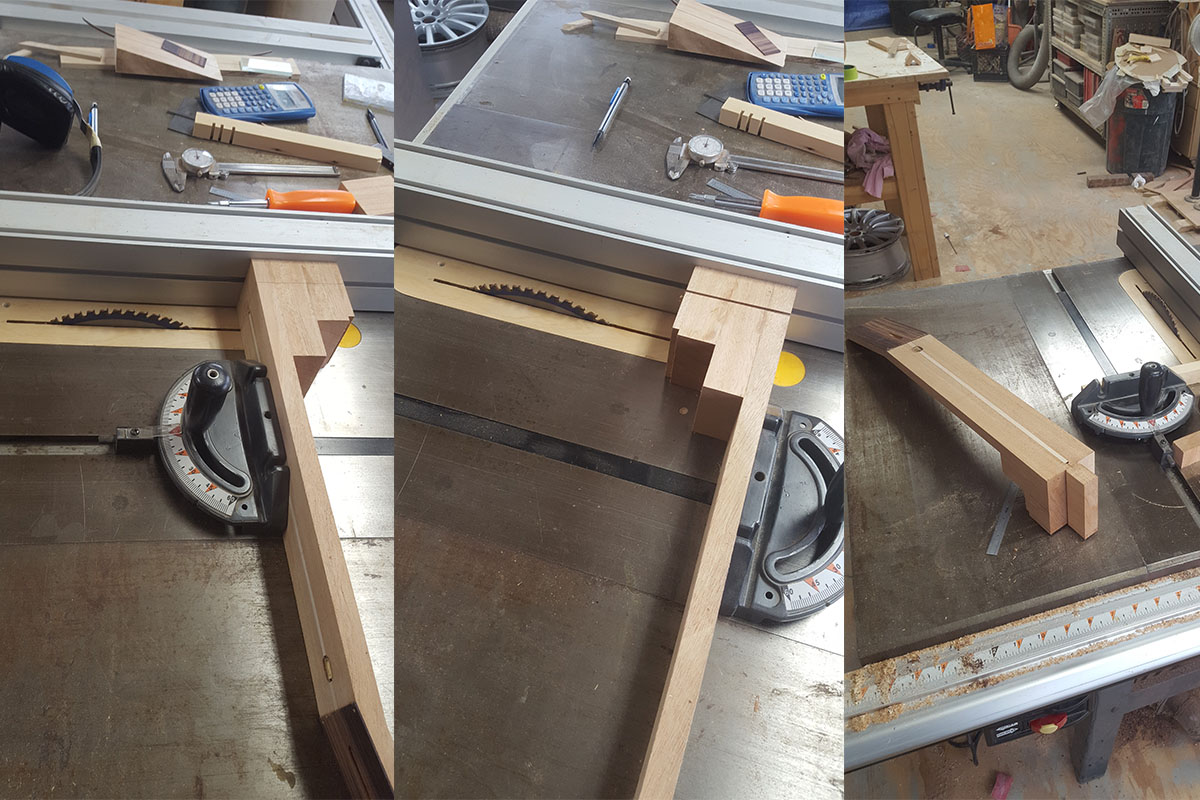
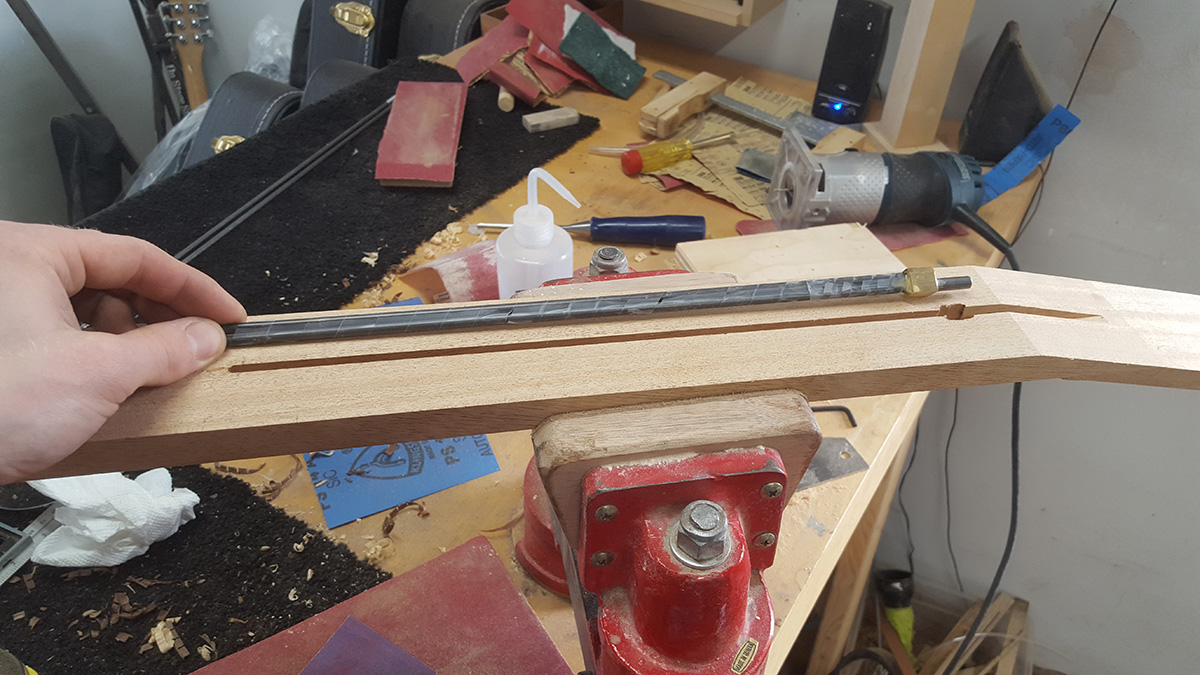
Cutting the tenon. You can see the neck rod installed from the previous step.
This was done with a hand saw, chisel and sandpaper. Next is installing the threaded inserts, which I forgot to take a picture of.
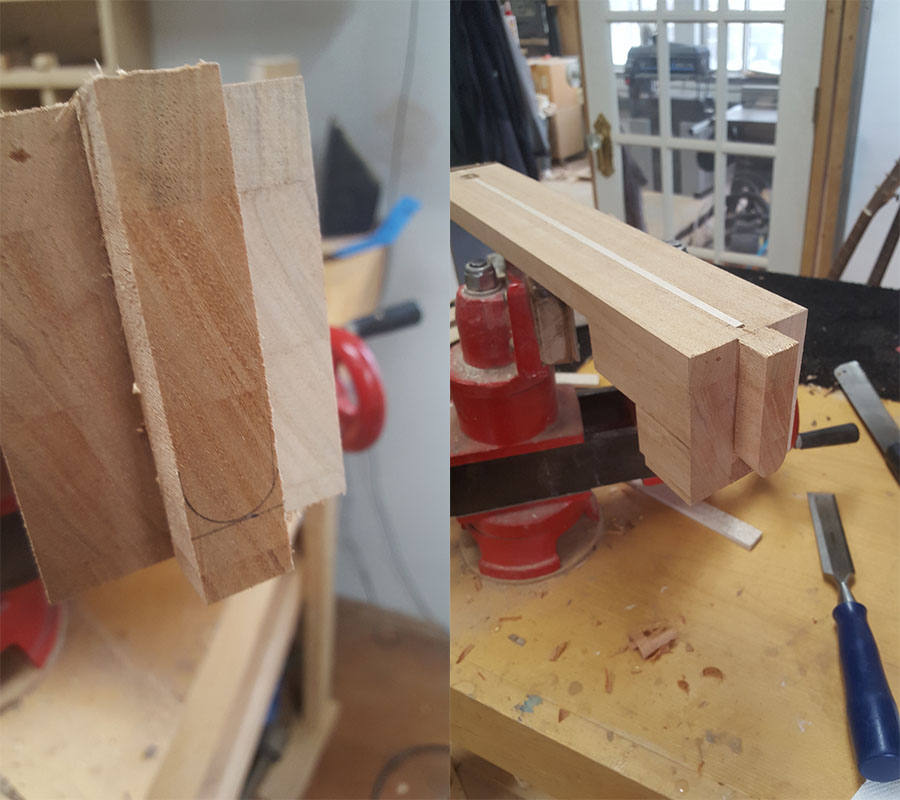
Getting the fingerboard centered.
The screws keep it from moving during clamping. These holes will be covered by dots. Also, the threaded inserts are installed on the tenon at this point.
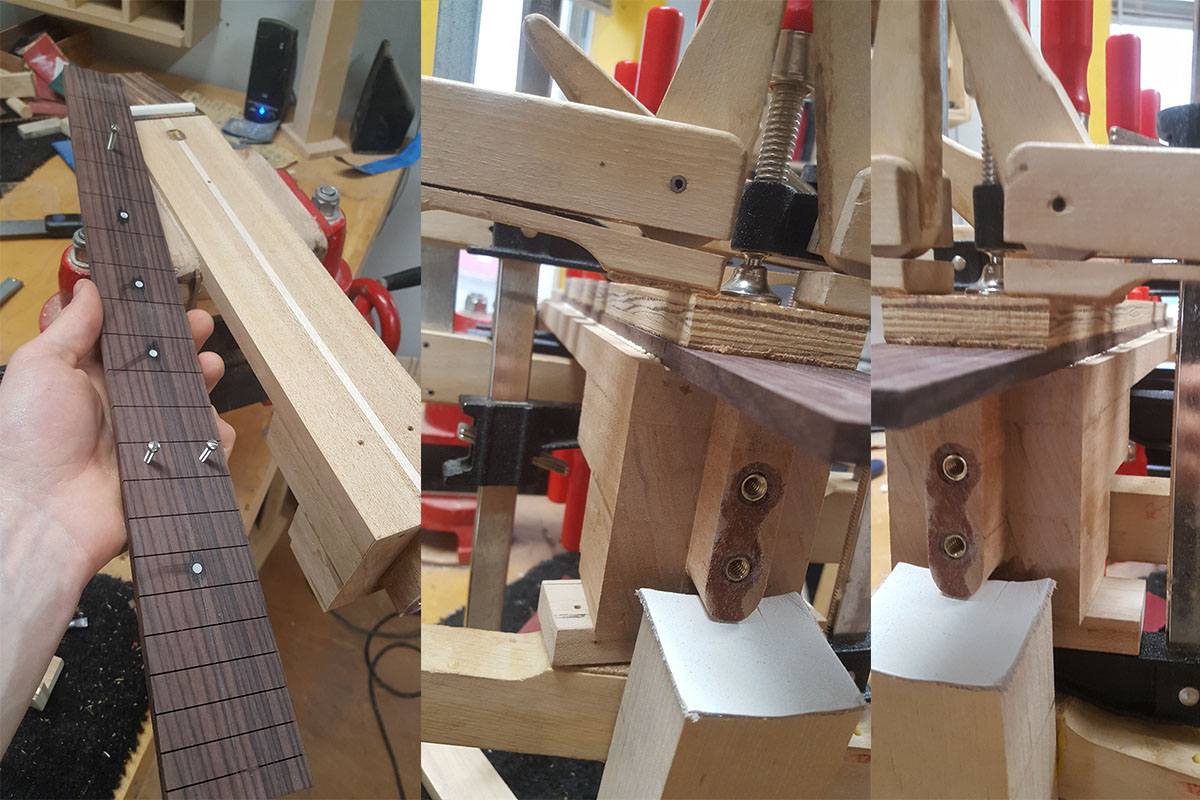
Gluing up!
Shaping the heel.
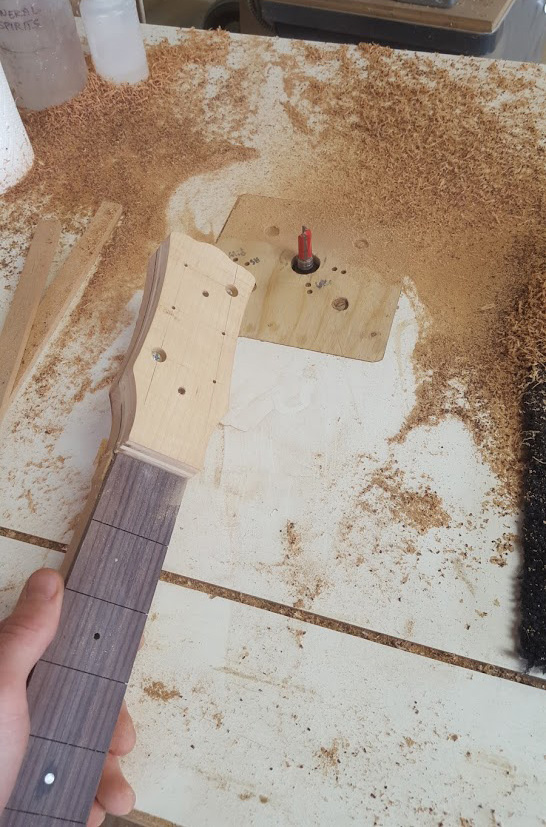
Cutting the headstock.
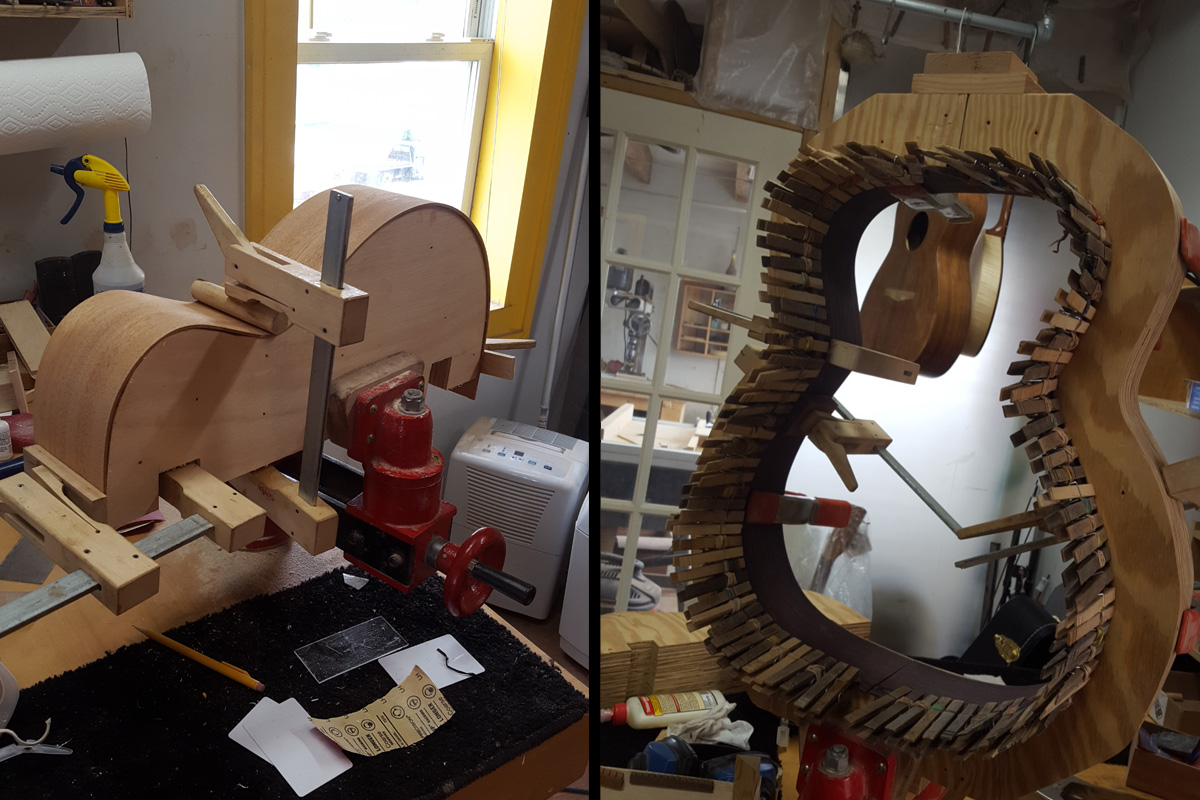
I wish I had more pictures to show the sides being bent. My typical bending procedure is to do most of the work the traditional way with a heated pipe. Once I have the bend mostly completed, I clamp it to a mold like this one and steam it with an iron. After sitting overnight, the shape is typically bend sufficiently.
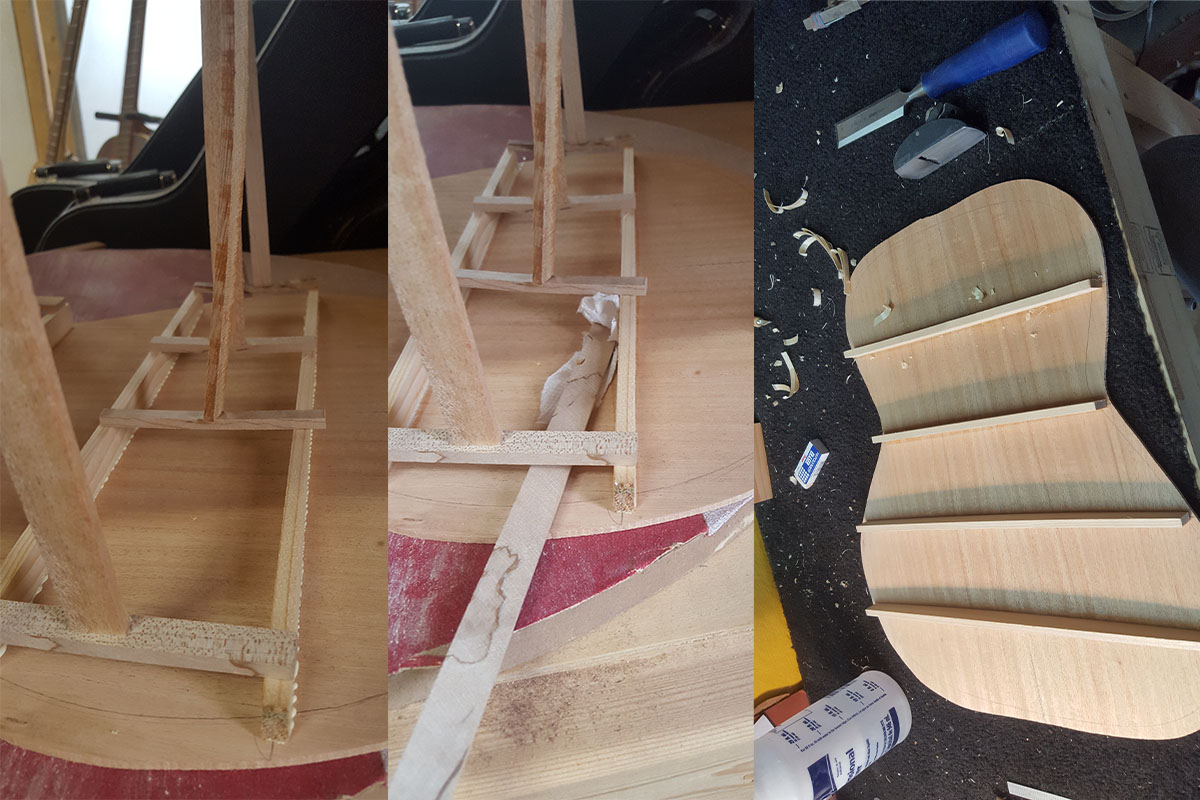
Here the back braces are getting glued in place. The backing caul is a radius sanding dish. As with most of my joints, I use ample amounts of glue. I do this because I believe that saturation of the joint is really important to ensure that the water from the glue penetrates into the wood. While I could use less glue, which would result in less squeeze out and a cleaner outcome, I prioritze structural intergrity above all else. I would prefer to see evidence of glue much more than a super clean joint that fails.
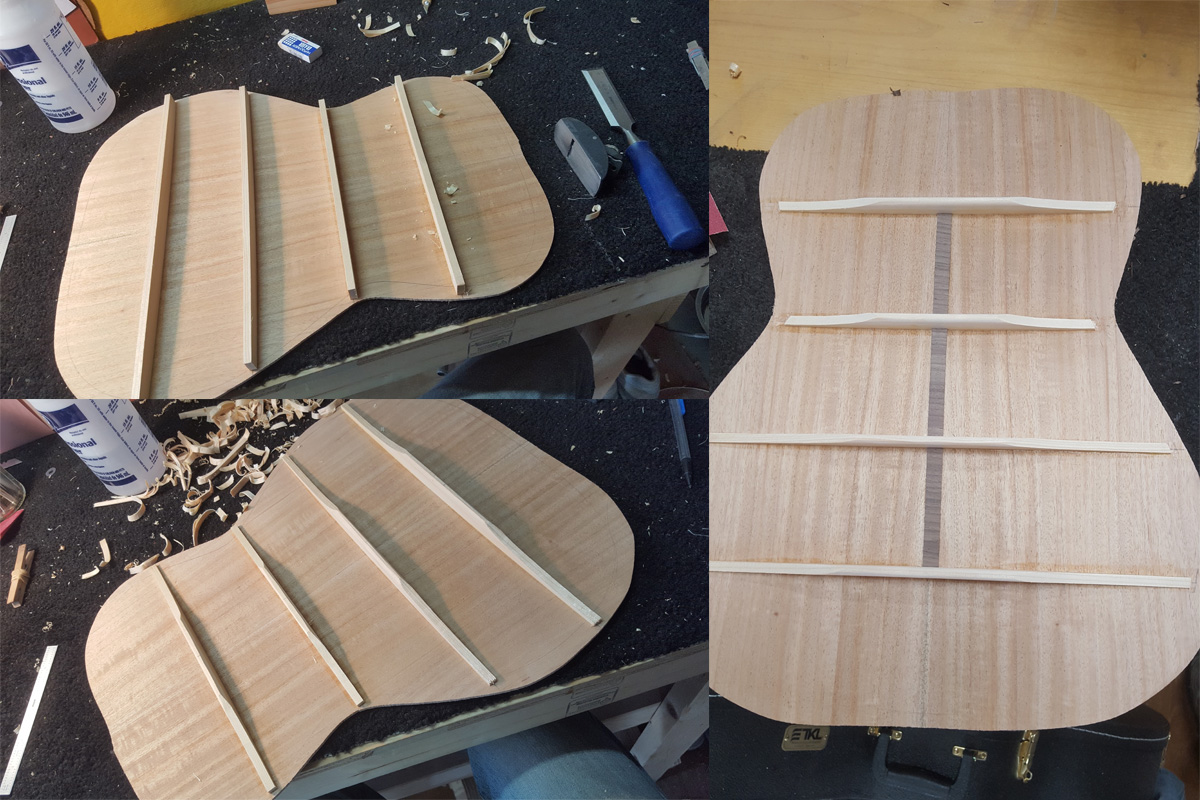
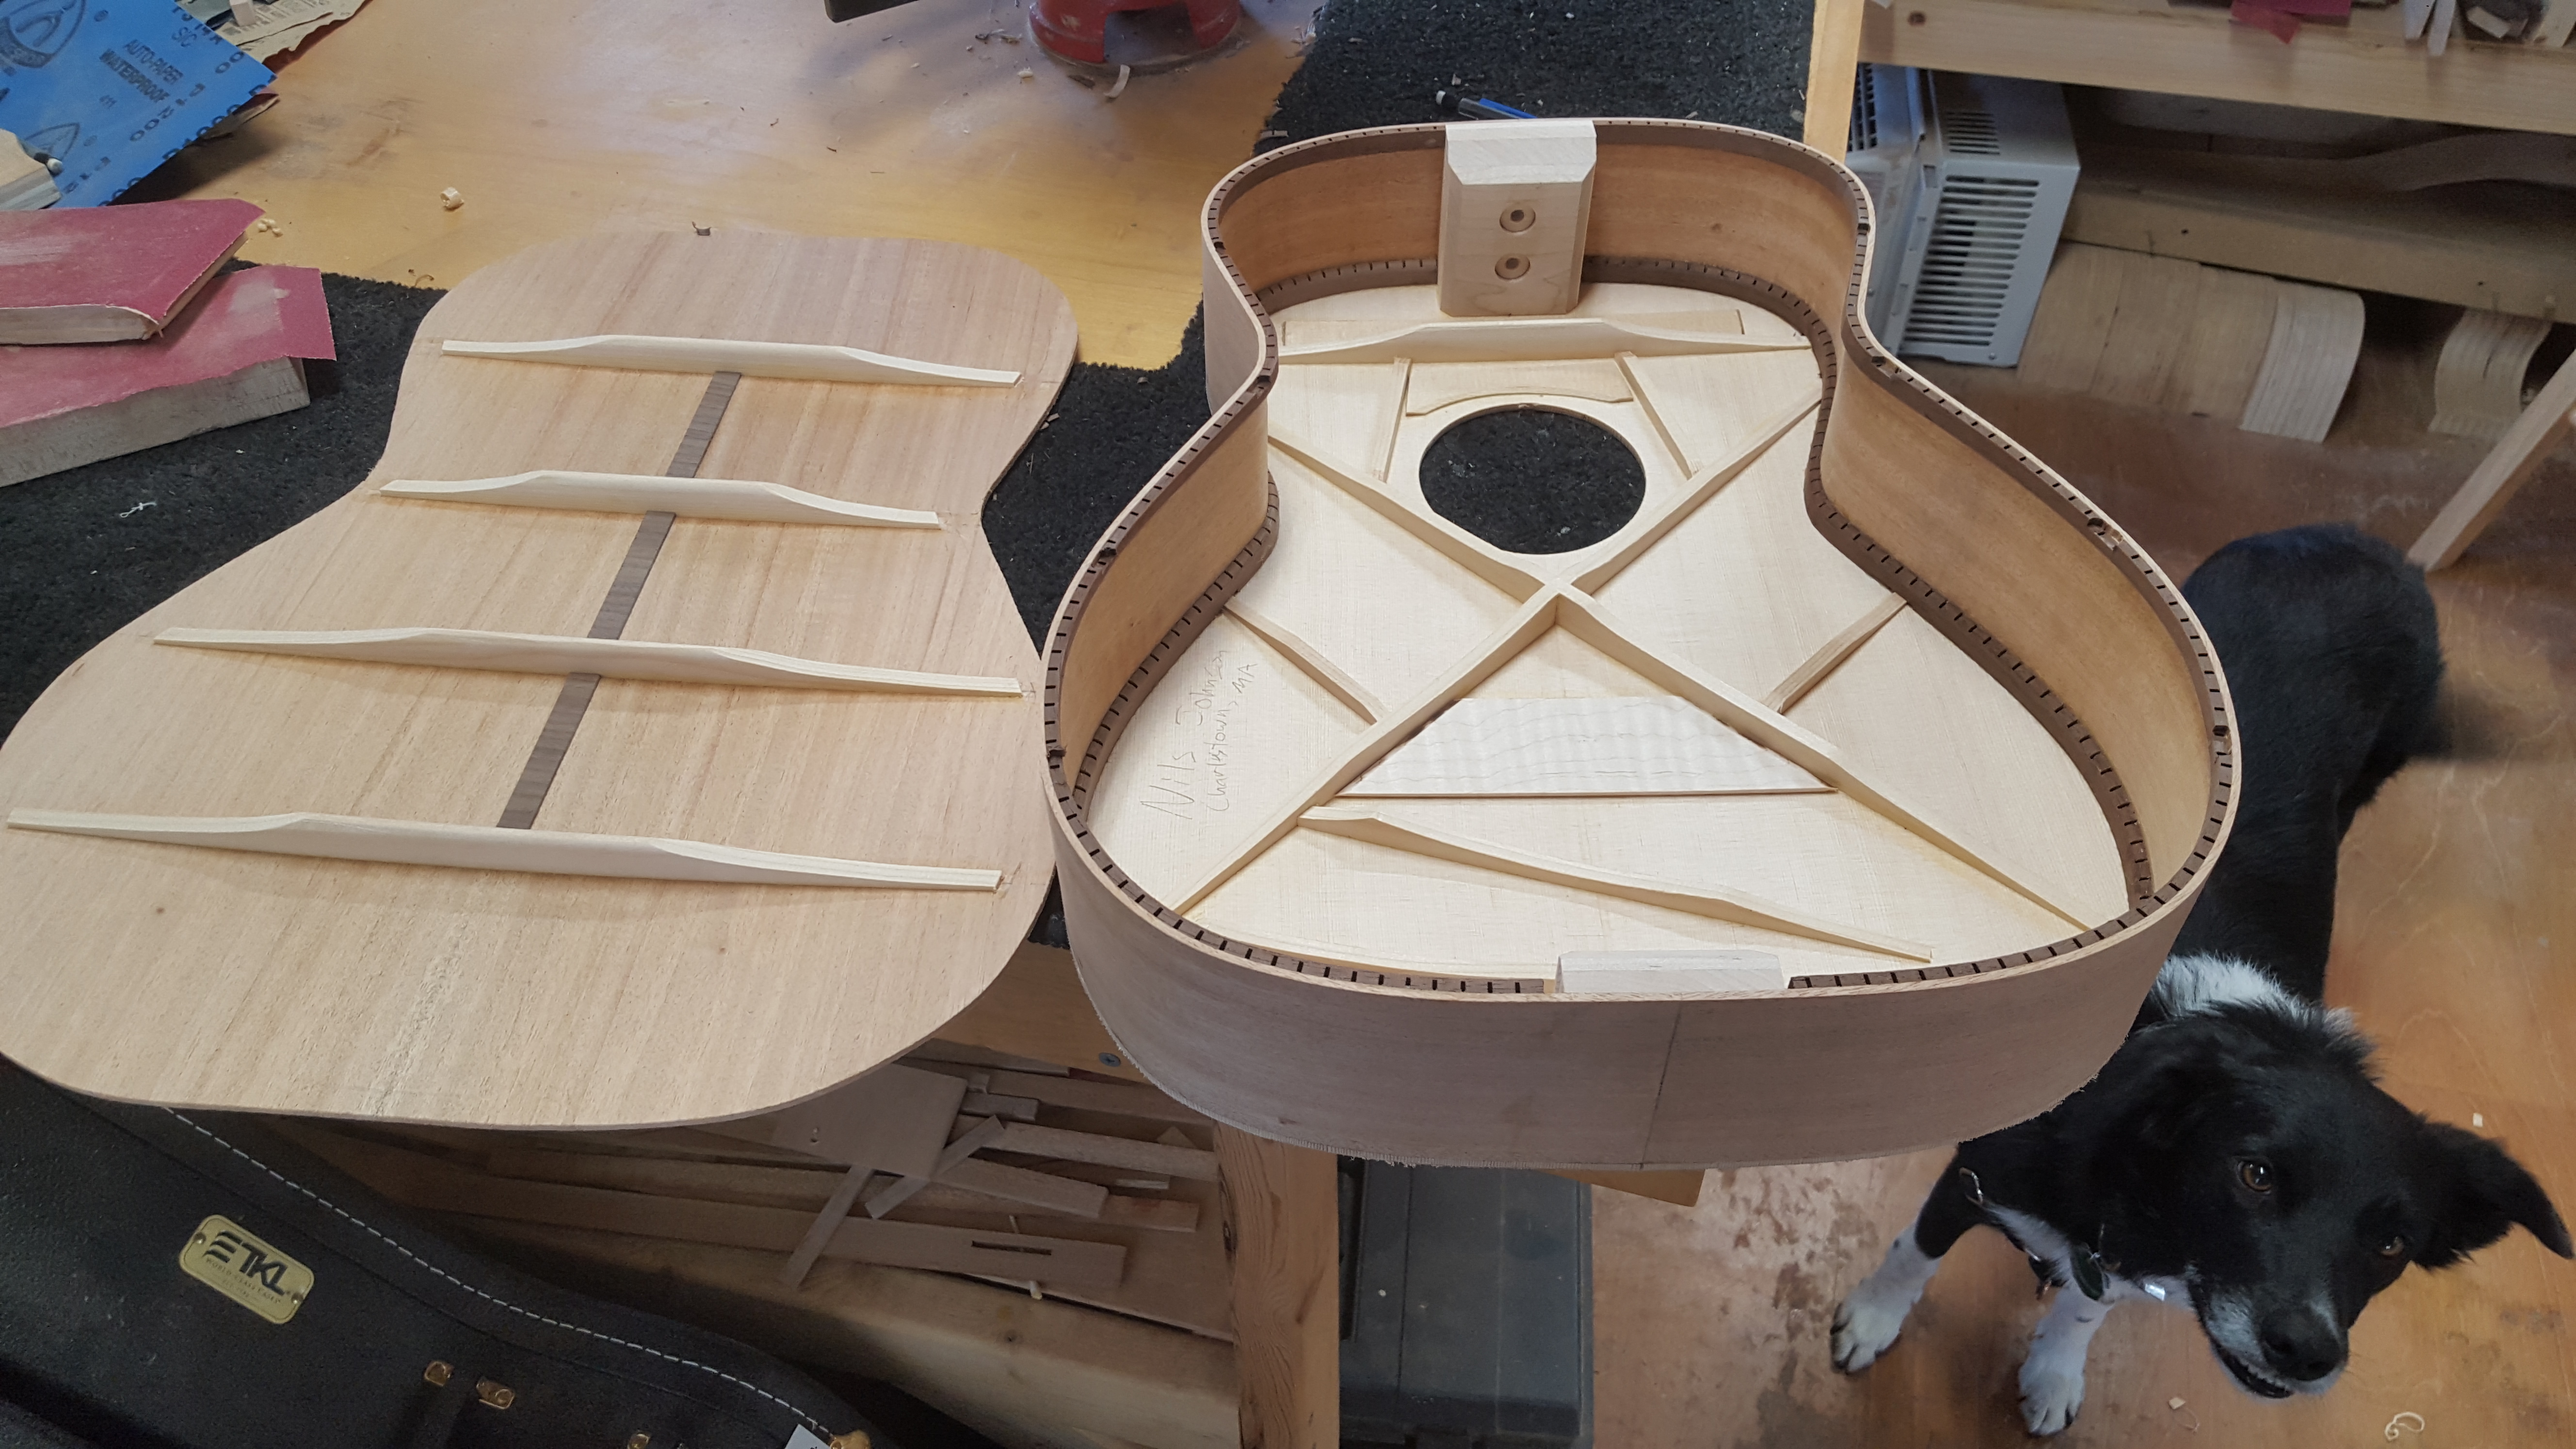
Braces installed, shapped and then cleaned up!
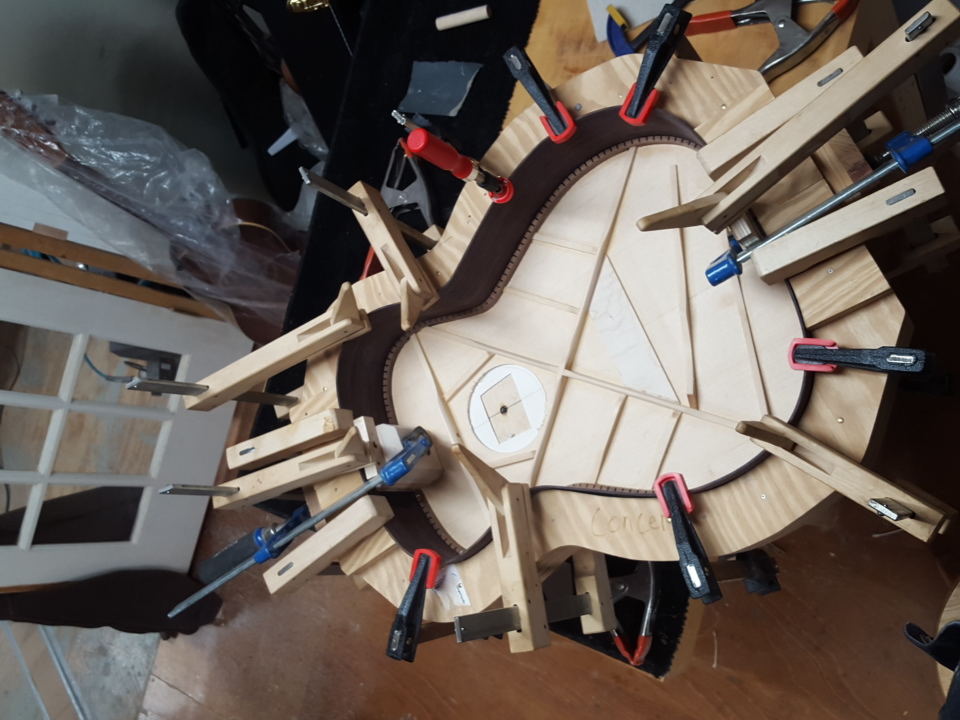
This is how the top gets attached to the sides and endblocks.
This one's ready to be closed up.
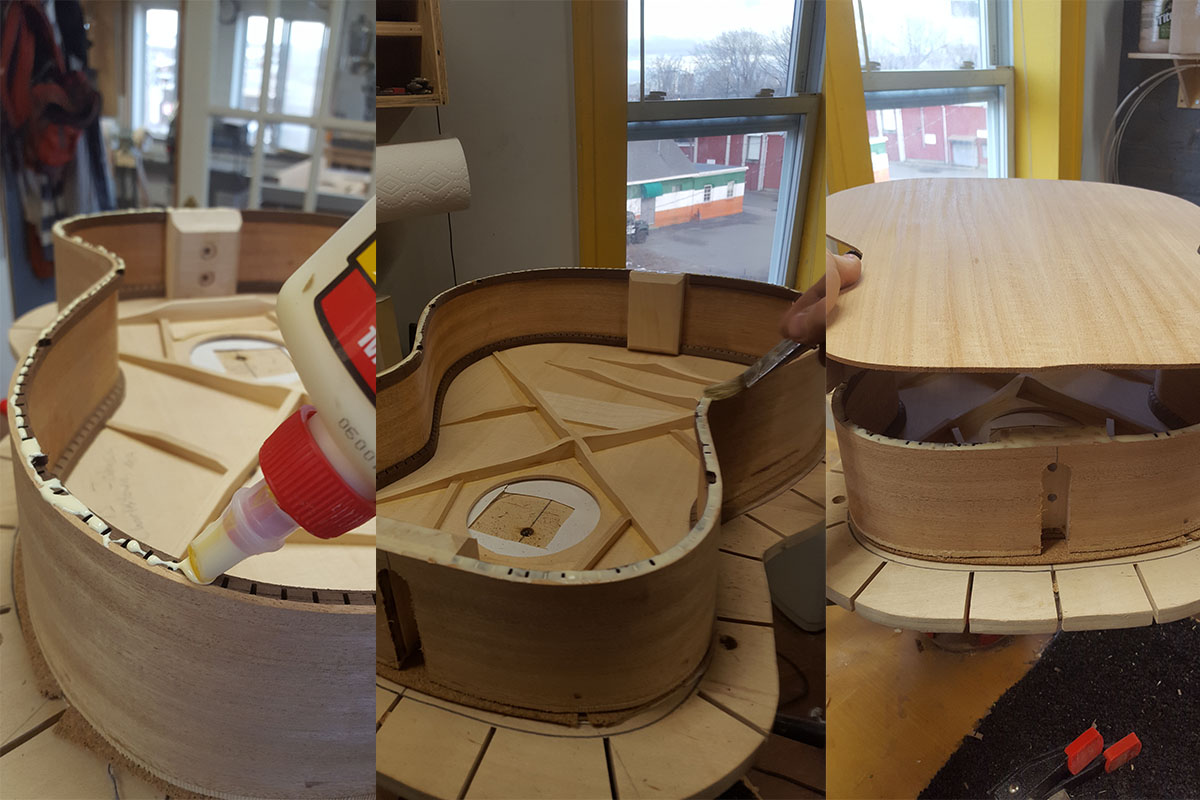
A little glue.
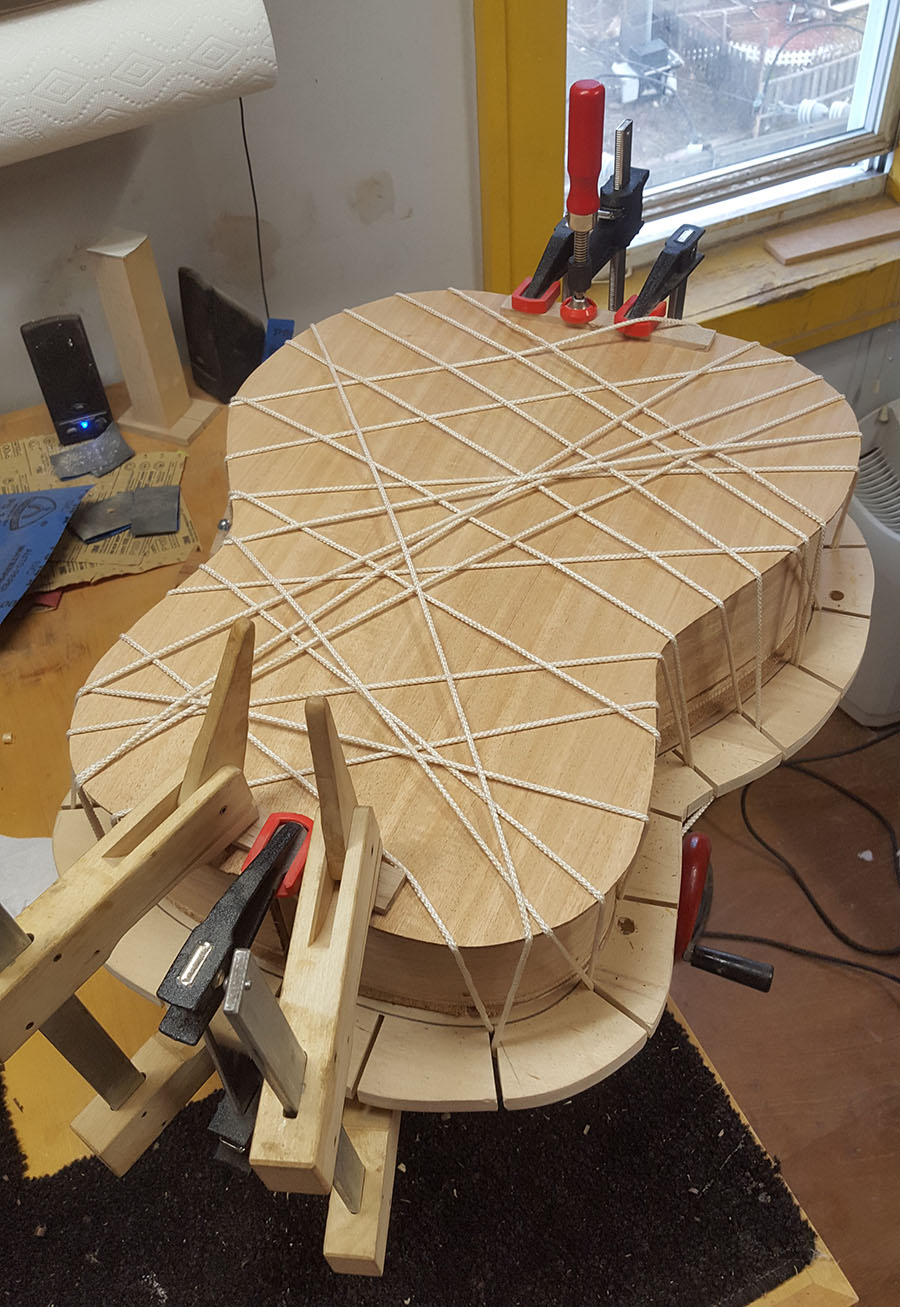
And let it sit overnight.
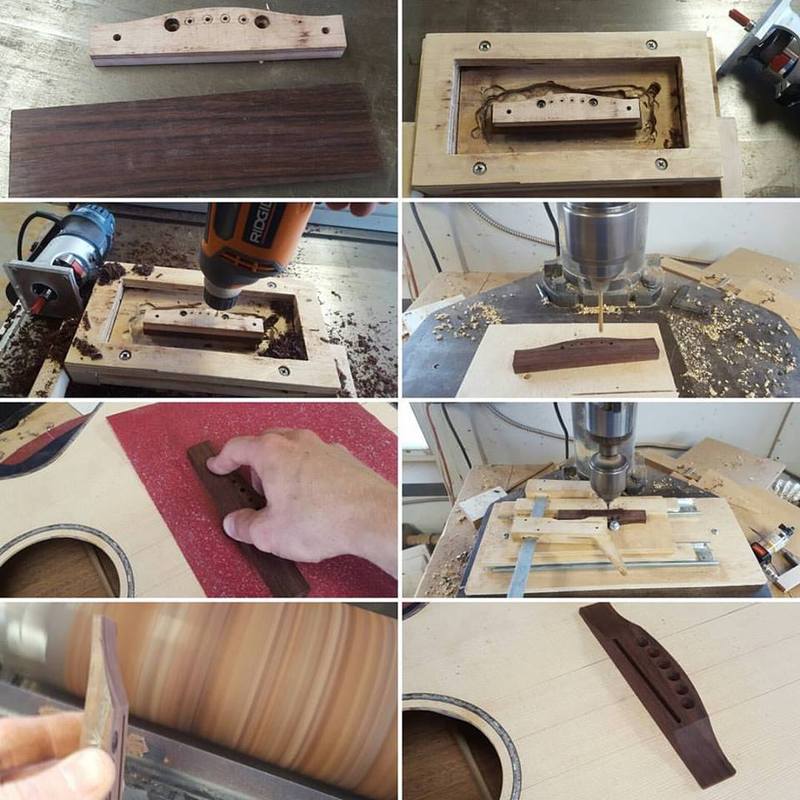
Slide 1.) Template and blank.
Slide 2.) Template bolted through blank and bottom of adjustable bed on routing jig. Note the cutter used in the upper right of slide.
This jig is basically a frame that has an adjustable bed. You adjust the height with the four bolts on the edge, which makes it so the router registers to the template at 90 degrees.
Slide 3.) Pilot holes drilled from same template.
Slide 3.) Brad point bit to finish the holes. (3/16)
slide 5.) Fit bridge to top by sliding over some coarse sandpaper.
Slide 6.) It's then slotted on the drill press by being clamped to an angled fence on a table on drawer sliders.
Slide 7.) Shape it up, etc.
Slide 8.) Done!